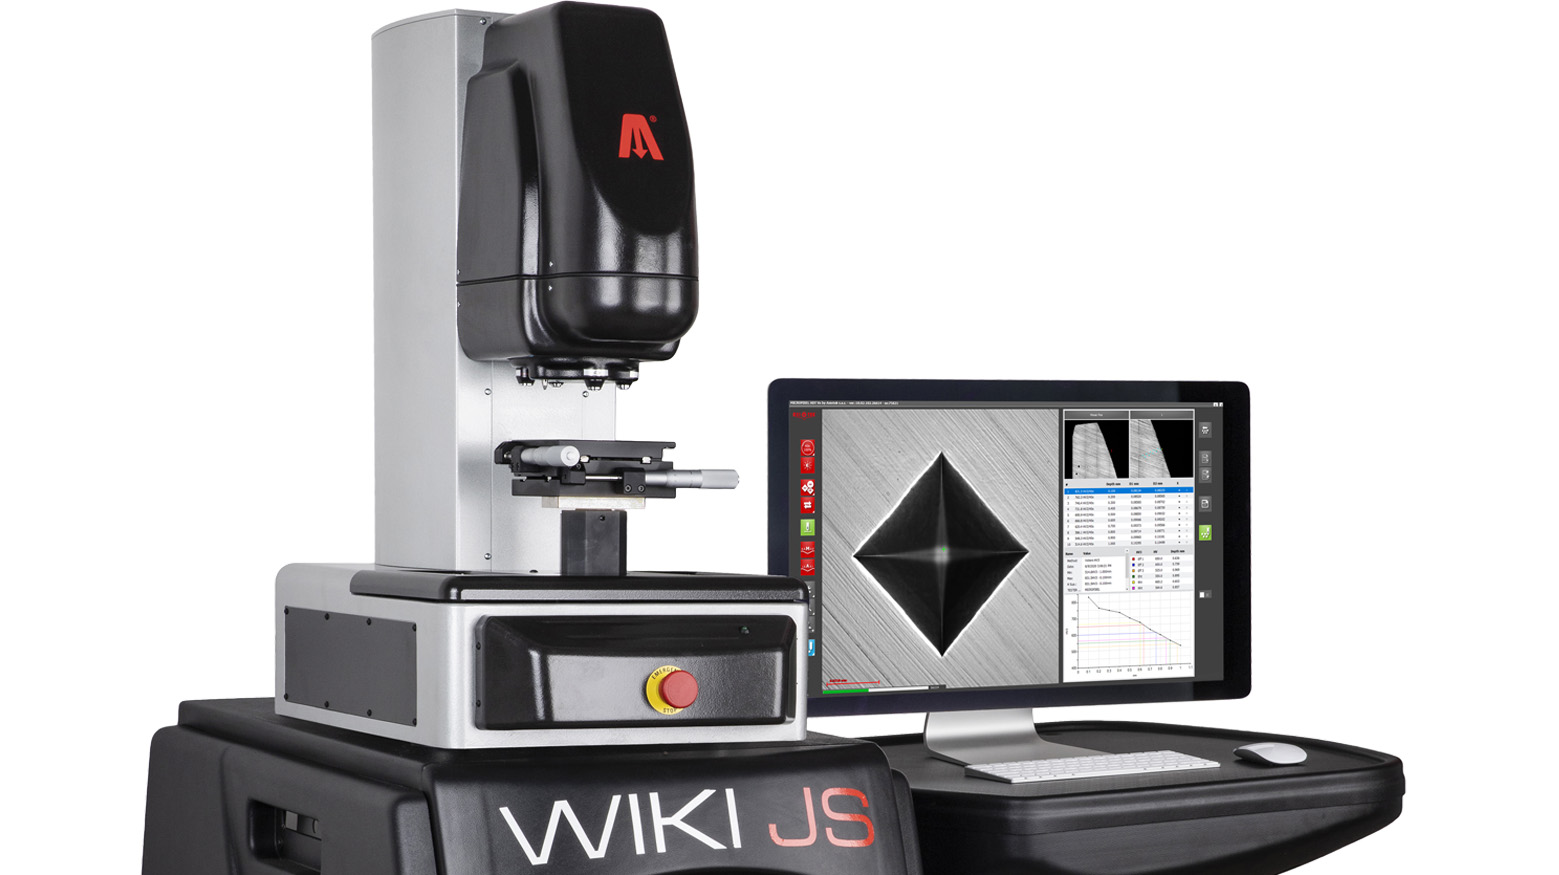
Wiki 90 js: Vickers. Knoop. Brinell
Venligst kontakt os for pris.
Wiki 90 js: Vickers. Knoop. Brinell
WIKI 90 JS – SIMPLE MICRO VICKERS HARDNESS TESTING MACHINE
VICKERS KNOOP BRINELL HBW
Test loads: from 1 gf to 62.5 kgf (0.0098 to 612.9 N)
Vickers ISO 6507 / ASTM E-384 E-92: HV0.001 – HV0.005 – HV0.01 – HV0.015 – HV0.02 – HV0.025 – HV0.05 – HV0.1 – HV0.2 – HV0.3 – HV0.5 – HV1 – HV2 – HV3 – HV5 – HV10 – HV20 – HV30 – HV50
Knoop ISO 4545 / ASTM E-384 E-92: HK0.01 – HK0.02 – HK0.025 – HK0.05 – HK0.1 – HK0.2 – HK0.3 – HK0.5 – HK1
Brinell ISO 6506 / ASTM E-10: HBW 1/1 – HBW 1/1.25 – HBW 1/2.5 – HBW 2.5/62.5 – HBW 1/5 – HBW 1/10 – HBW 1/30 – HBW 2.5/6.25 – HBW 2.5/7.8125 – HBW 2.5/15.625 – HBW 2.5/31.25 – HBW 2.5/62.5
MAIN FEATURES Wiki 90 js
MOTORIZED TURRET
Horizontally rotating turret with four slots for magnification lenses and two for indenters. All optical microscope objectives can be pre-installed and combined with indenters for every Vickers and Knoop hardness scales.
AUTOMATIC READING
Automatic indentation reading through camera. To make the test just place the specimen under position, push the start button: the hardness tester will make the contact, apply the test force, switch to the objective, measure the indent and give the result.
CLOSED LOOP (PAT. AFFRI)
Load forces are applied through load cells and controlled in “Closed Loop” with a frequency of 1 khz, assuring perfect linearity in every range. Results are not affected by misalignment or problems associated with dead weight systems on traditional testers
XY STAGE
Manual XY table 100x100mm with 10 μm step. This table is a perfect solution for manual CHD case depth tests and can be provided with digital micrometers for automatic CHD graph generation.
PRECISE FUCUSING
The ergonomic and handly wheel on the tester side controls the Z stroke. It allows precise focus adjustmens as well as fast movements.
LIFTING SYSTEM
The vertically sliding chromed spindle is a perfectly steble support for the specimen. It is possible to install different types of pieceholder anvils.
Wiki 90 js SOFTWARE
– Clear view of the indentation and the testing zone
– Direct conversion in HR, HB, HK and other scales
– Visual control of all results and live statistics
– Print results from template or save / import test cycles from archive
– Customizable test report with customer logo, specimen information, statistics and graphs
– Control the whole instrument with the mouse
The AFFRI Vickers measuring software has been studied to fulfill any client need and to be accessible to every operator. This is a “SMART SOFTWARE” which results extremely easy to be used and can be customized to display only needed testing procedures.
AUTOMATIC READING
Vickers, Knoop and Brinell measurements with the same hardness testing machine. From perfectly polished to rough & etched samples, the software will automatically measure indents on any sample surface.
AUTOMATIC ILLUMINATION
Automatic light regulation on dark, opaque or polished samples. The hardness tester controls and adjusts the light and contrast to find the right combination and measure the indent. Just place the specimen and click the illumination button to see the change.
TEST REPORT
Customizable test report with client logo and information. Put as many sample information as you need, including pictures of the indents and test area. Examine results, statistics and CHD diagram. Results can be exported also as CSV file.
SOFTWARE ADD-ON
XY SEMI
This software pack is provided with digital micrometers and it is used for assisted CHD case depth tests with automatic CHD graph generation.
AUTO WELD
Easy testing on welded samples thanks to the predefined patterns templates and the drag positioning feature for groups of indents.
AUTO GRAIN
Grain Size Analysis (ASTM E112 and EN ISO 643), automatic Spheroidal Graphite Nodule Analysis (ISO 945) and utomatic Phase Percentage Analysis.
TECHNICAL FEATURES Wiki 90 js
|
WIKI 90 JS
|
|
|
Standards
|
DIN-EN-ISO 6506 / DIN-EN-ISO 6507 / DIN-EN-ISO 4545 / ASTM E-92 / ASTM E-384 / JIS B 7734
|
|
X/Y table
|
Manual – 100×100 mm with 10 μm step
|
|
Vertical head stroke
|
0/135 mm
|
|
Depth capacity
|
163 mm
|
|
Indent reading
|
Manual focus with automatic and manual reading |
|
Force range
|
0.09807 – 0.1471- 0.1961 – 0.2452 – 0.4903 – 0.9807 – 1.961 – 2.942 – 4.903 – 9.807 – 19.61 – 29.42 – 49.03 – 98.07 N (0.01 – 0.015 – 0.02 – 0.025 – 0.05 – 0.1 – 0.2 – 0.3 – 0.5 – 1 – 2 – 3 – 5 – 10 kgf) As optional: |
|
Feasible tests
|
Vickers
On request Knoop and Brinell
|
|
Load accuracy
|
Better than 0.05 %
|
Normal lagervare, forbehold for mellemsalg


