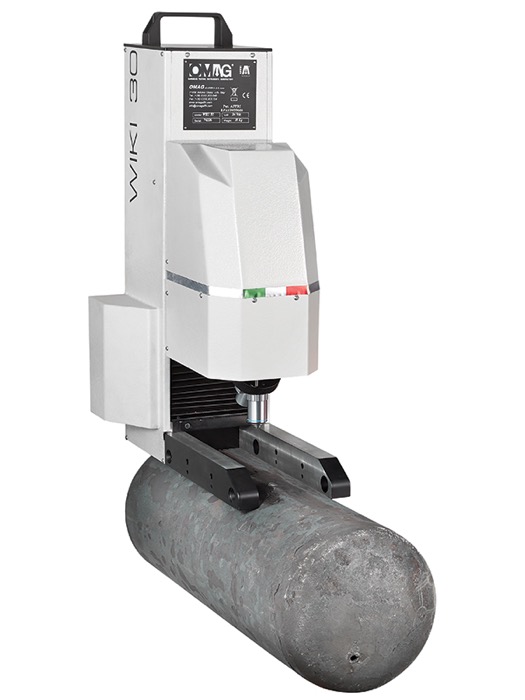
Wiki 30: Vickers, Knoop
Venligst kontakt os for pris.
Wiki 30: Vickers, Knoop
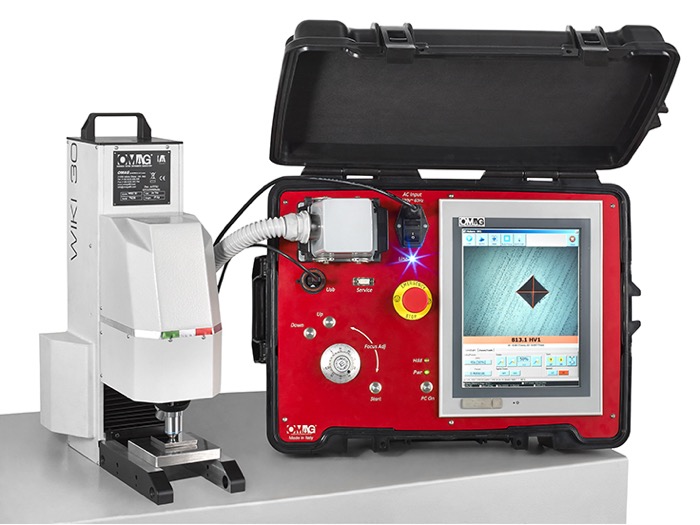
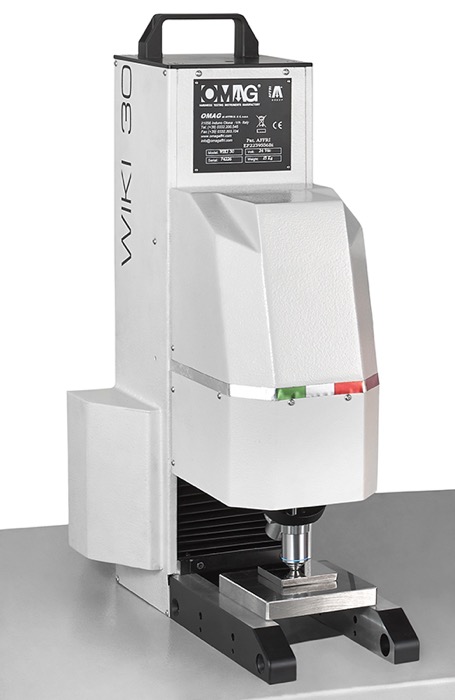
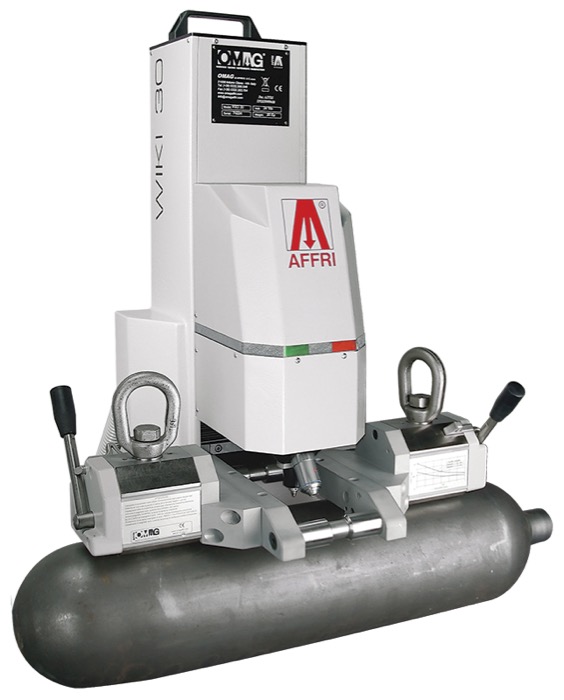
WIKI 30. Portable hardness tester for micro/macro Vickers and Knoop methods with indentation autoreading. Hardness testing on bulky tubes or valves in compliance with ASTM E384, ISO 6507 and ISO 4545 hardness standards. WIKI 30 is a motorized portable hardness tester targeted for use by the Oil & Gas market sector in order to control placed plants in loco. Automatic measurement system with autofocus and auto indentation readings. Swivelling turret (Indenter and objective) with 5 mm of horizontal stroke to perform multiple indentations without moving the tester. It is completely uninfluenced by direction so that it can operate up to 360° degrees of positioning, even upside down.
It is not affected by any external source of vibration, and it does not need to be leveled. Load forces are electronically applied through a load cell which assures high accuracy in every condition long term. Micro-macro Vickers, Knoop and case depth tests, in laboratory or in loco, on all metals: iron, steel, tempered steel, cast iron, brass, aluminium, copper and metal alloys. Heat treatment, hardening, nitriding, cementation and hardfacing. Knoop test on ceramic and glass materials.
Test loads: from 0,1 to 30 kgf (from 0,98 to 294,21 N)
Vickers ISO 6507 / ASTM E-384: HV0,1 – HV0,2 – HV0,3 – HV0,5 – HV1 – HV2 – HV3 – HV5 – HV10 – HV20 – HV30
Knoop ISO 4545 / ASTM E-384: HK0,1 – HK0,2 – HK0,3 – HK0,5 – HK1
MOTORIZED MEASURING HEAD
Just press one button and the head moves down, applies the force, makes the indentation, reads the indent and moves back upward. Fully motorized with 90 mm of vertical stroke.
CLOSED LOOP (PAT. AFFRI)
MOTORIZED TURRET (INDENTER/OBJECTIVE)
One slot for an indenter and one slot for an objective. Auto-rotating and auto-tool-switching for a complete automatic measurement cycle.
360° POSITIONING
It is completely uninfluenced by direction so that it can operate up to 360° degrees of positioning, even upside down. Safe clamping on any surface, from round to flat, with self-allignment of the indenter with the measurement axis.
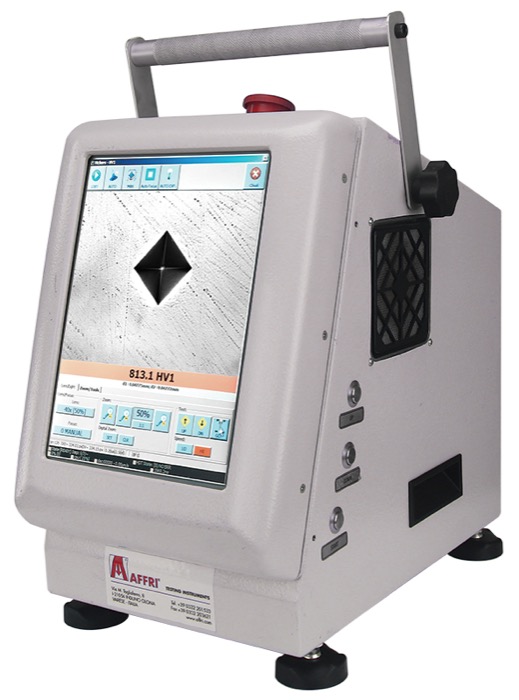
TOUCHSCREEN AND SOFTWARE Wiki 30
Powerful software for test cycle management and automatic indent reading. Wide settings parameters for measurement setup, image adjustments, statistics and data storage.
AUTOFOCUS
The Auto Focus performs an automatic focus adjustment for the selected optic with precise positioning at any magnification. This system reduces reading time thus assuring high reading accuracy.
MULTI INDENTATION
The indenter/objective turret slides horizontally for ca 5 mm. The system provides the ability to perform multiple inentations on one axis, with high positioning accuracy, without moving the tester.
BENCH TOP USE
The portable tester WIKI 30 can be used as a conventional bench-top hardness tester for very high accuracy tests on small pieces.
TECNICAL FEATURES Wiki 30
|
WIKI 30
|
|
|
Standards
|
DIN-EN-ISO 6506 / DIN-EN-ISO 6507 / DIN-EN-ISO 4545 / ASTM-E92 / ASTM 384 / JIS Z231
|
|
Horizontal head stroke
|
ca 5 mm
|
|
Vertical head stroke
|
0/90 mm motorized
|
|
Objectives
|
100X, 200X, 400X
|
|
Indenters
|
Vickers (Knoop and Brinell on request)
|
|
Test loads
|
Vickers (Knoop on request): 0.9807 – 1.961 – 2.942 – 4.903 – 9.807 – 19.61 – 29.42 – 49.03 – 61,29 – 98.07 – 147.1 – 152.98 – 196.14 – 245.17 – 294.21 N
(0.1 – 0.2 – 0.3 – 0.5 – 1 – 2 – 3 – 5 – 6.25 – 10 – 15 – 15.6 – 20 – 25 – 30 kgf)
|
|
Feasible tests
|
Vickers: HV0.1 – HV0.2 – HV0.3 – HV0.5 – HV1 – HV2 – HV3 – HV5 – HV10 – HV20 – HV30
Knoop (On request): HK0.1 – HK0.2 – HK0.3 – HK0.5 – HK1
Brinell (On request)
|
|
Load accuracy
|
Better than 0.05 %
|
Normal lagervare, forbehold for mellemsalg

