RSD serie: Rockwell. Brinell. Vickers
Venligst kontakt os for pris.
RSD serie: Rockwell. Brinell. Vickers
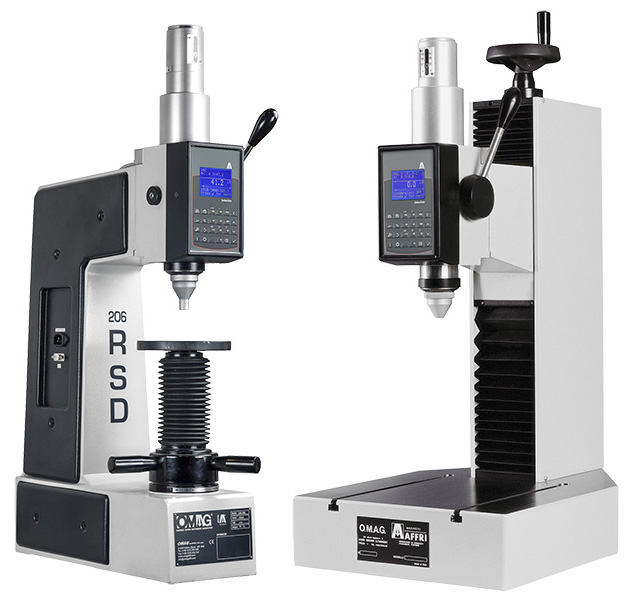
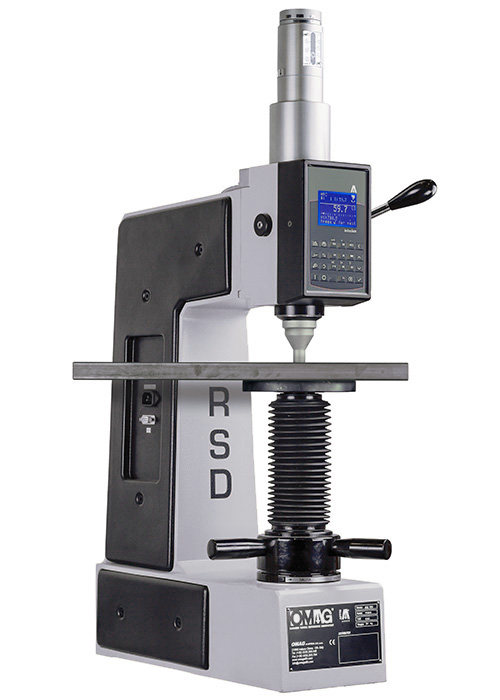
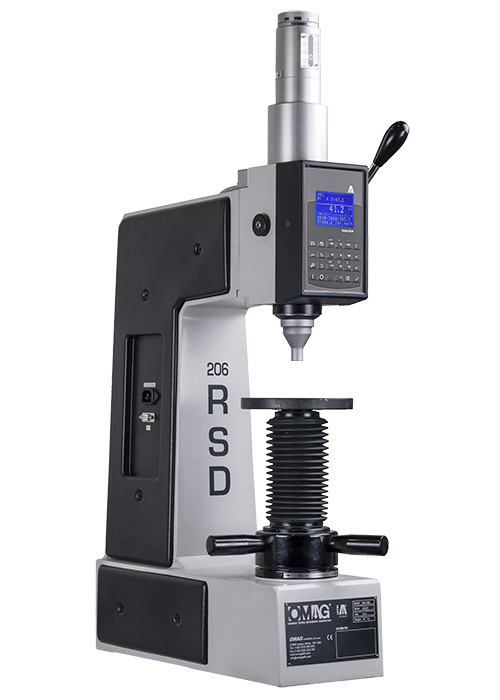
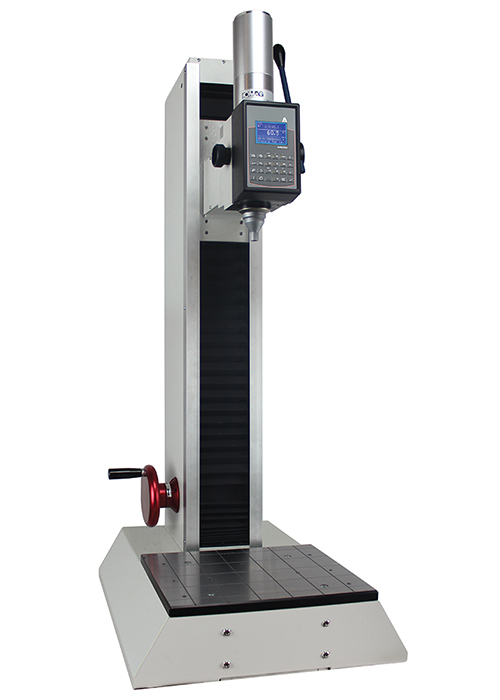
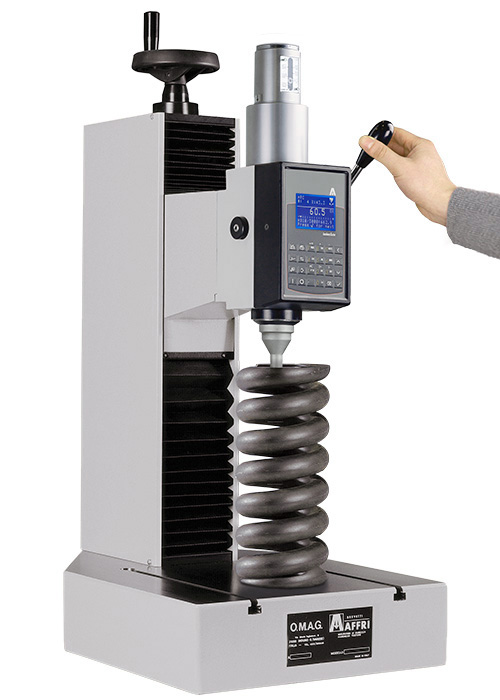
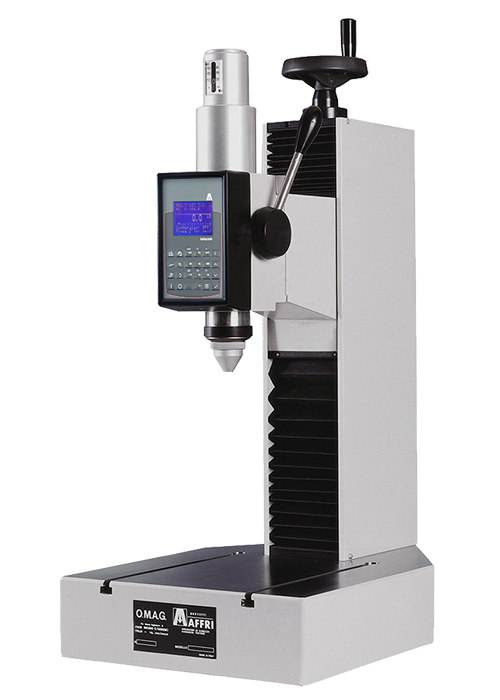
RSD serie Semi-automatic hardness testers for Rockwell, Superficial Rockwell, Brinell and Vickers hardness test methods in compliance with ASTM and ISO standards. RSD Series are bench hardness testers for tough or lab applications. Rockwell and Brinell HBTW hardness values with absolute accuracy (better than 0.5 %) in every condition, accurate measurements even on the first test will eliminate the need for repeated tests. Load forces are applied through a dynamometric load cell which eliminates problems associated with dead weight systems on traditional testers. Digital durometers with LCD screen, user friendly interface, real time statistics, graphs and large archive storage. Hardness testing on all metals: iron, steel, tempered steel, cast iron, brass, aluminum, copper and metal alloys. Heat treatment, hardening, nitriding, cementation and hardfacing.
Load forces: from 3 to 187,5 kgf (From 29,42 to 1839 N)
Rockwell ISO 6508 / ASTM E-18: HRA – HRB – HRC – HRD – HRF – HRG – HRL – HRM – HRR / HRN – HRT
Brinell HBWT ISO 6506 / ASTM E-10: HB 30 – HB 10 – HB 5 MPa (F/D2)
Vickers ISO 6507 / ASTM E-384 (Only indentation): HV3 – HV10 – HV15 – HV30 – HV60 – HV100
MANUAL DRIVE AND AUTOMATIC CYCLE
Just pull the START lever and the hardness tester’s head moves down to make contact with the sample’s surface, locking it. The hardness test cycle will automatically begin in automatic succession without breaching a phase. Within seconds results appear.
THE AFFRI RSD Serie SYSTEM
Load forces are generated by a dynamometric load cell which assures long term accuracy and eliminates problems associated with dead weight systems on traditional testers. Results are not affected by any structural deflection, misalignment or vibration.
REPEATABILITY AND REPRODUCIBILITY (R&R)
Accurate measurements on the first test, even in extreme conditions, will eliminate the need for repeated tests. The R&R data is at the top of its class.
INDENTER STROKE
When testing unstable samples or deflecting parts, the AFFRI System will follow the sample without losing contact thanks to its 50 mm stroke for indenter and clamping hood. Easy and fast hardness measurements on pieces with different thicknesses without acting on tester head or elevating screw.
CLAMPING SYSTEM (PAT. AFFRI)
Secure contact with the specimen is always maintained, even in the unlikely event of any specimen movement during the operation cycle. The clamping system assures perfect stability of any test piece throughout the test cycle, even if it’s oiled, rusty or dirty
MOVING TESTER’S HEAD
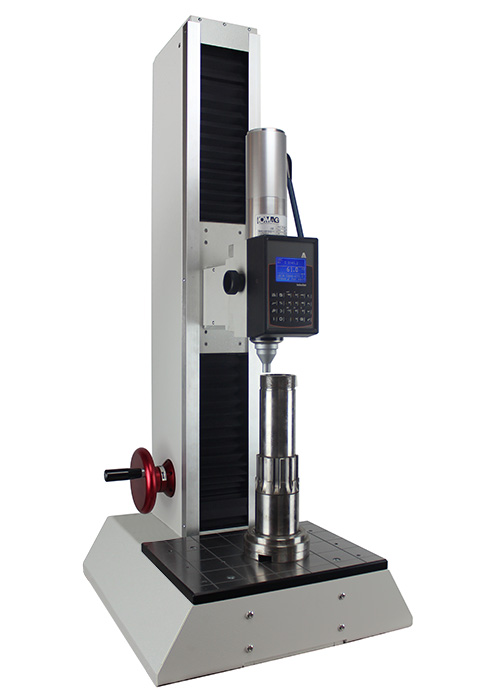
Total of 700 mm of vertical stroke. The moving tester’s head permits easy measurements on large pieces, reaching points at the top of the sample that would be difficult to be measured with common testers.
LARGE BASE
The 330 RSD’s wide work table base is capable of bearing masses beyond 1000 kg which allows for steady hardness measurements on bulky or irregular pieces It also offers a comfortable working base for small pieces.
OPTIONAL TABLE FOR RING SHAPE SAMPLES
Optional interchangeable base for hardness testing on external ring shape tubes, cylindrical surfaces and various samples diameter.
SOFTWARE RSD SERIE
The software controls the whole instrument during the entire cycle avoiding operator errors:
- Set of the hardness test method
- Measurement settings
- Storable and printable statistics
- Results, averages and conversions
PORTABLE SOLUTION – AFFRI® RSD MAG
AFFRI® RSD MAG Portable hardness tester with magnetic clamping base for Rockwell, Brinell and Vickers hardness test methods. The first portable hardness tester that conforms to ASTM E-18 E-10 E384 and ISO 6508 6507 6506 international standards. It is completely uninfluenced by direction so that it is operative up to 360° degrees of positioning, even upside down. It is not affected by any external source of vibration, and it does not need to be leveled. Safe clamping on any surface, from round to flat, with self-alignment of the indenter with the measurement axis. This hardness tester ensures the highest accuracy and repeatability at every measurement.
TECNICAL FEATURES
|
206 RSD / RS-SD
|
330 RSD / RS-SD
|
903 RSD / RS-SD
|
||
|
Standards
|
EN-ISO 6506-2 / EN-ISO 6507-2 / EN-ISO 6508-2 / ASTM E-18 / ASTM E-10 / ASTM E384/ JIS
|
|||
|
X-Y Table
|
—-
|
330×390 mm
|
||
|
Indenter and clamping-hood stroke
|
0/50 mm
|
|||
|
Vertical head stroke
|
—-
|
0/300 mm
|
0/700 mm (More on request)
|
|
|
Elevating screw stroke
|
0/215 mm
|
—-
|
||
|
Depth capacity
|
190 mm
|
|||
|
Preload
|
RSD: 98,1 N (10 kgf)
RS-SD: 29,4 (3 kgf)
|
|||
|
Force range
|
RSD serie:
Rockwell: 588.4 – 980.7 – 1471 N (60 – 100 – 150 kgf)
Vickers (Only indentation): 98.07 – 980.7 N (10 – 100 kgf)
Brinell (On request): 98.07 – 612.9 – 1226 – 1839 N – On request 2452 N (10 – 62.5 – 125 – 187.5 kgf – On request 250 kgf)
RS-SD:
Superficial Rockwell: 147.1 – 294.2 – 441.3 N (15 – 30 – 45 kgf)
Vickers (Only indentation): 29.42 – 294.2 N (3 – 30)
Brinell (On request): 153.2 – 294.2 – 306.5 N (15.6 – 30 – 31.2 kgf)
|
|||
| Feasible tests |
RSD:
Rockwell: HRC – HRA – HRD – HRB – HRF – HRG – HRL – HRM – HRR
Vickers (Only indentation): HV10 – HV100
Brinell (On request): HB30 – HB10 – HB5 MPa (F/D2)
RS-SD:
Superficial Rockwell: HRN – HRT
Vickers (Only indentation): HV3 – HV30
Brinell (On request): HB30 – HB10 – HB5 MPa (F/D2)
|
|||
|
Load accuracy
|
Better than 0.5%
|
|||
Normal lagervare, forbehold for mellemsalg

