RSD MAG: Rockwell. Brinell. Vickers
Venligst kontakt os for pris.
RSD MAG: Rockwell. Brinell. Vickers
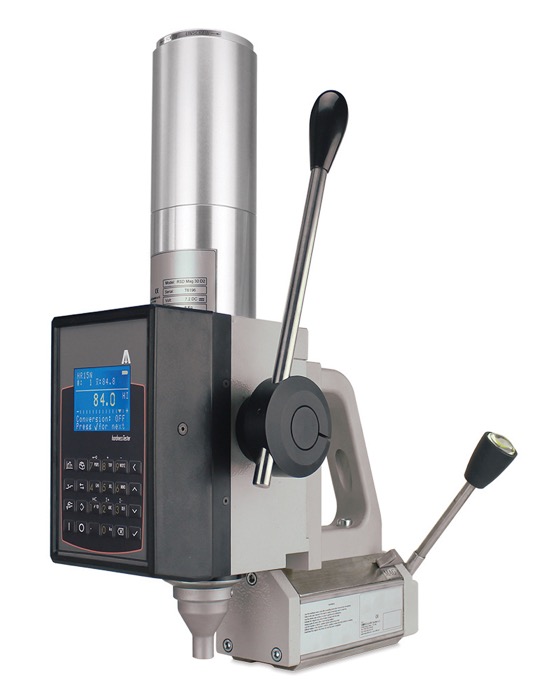
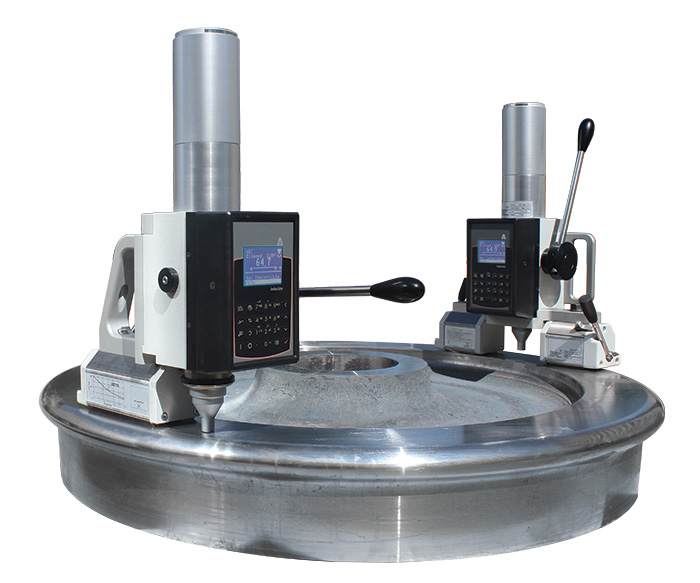
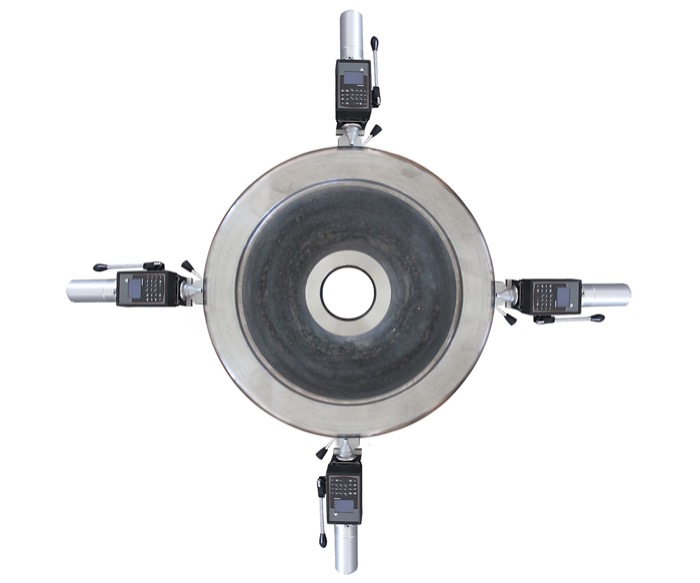
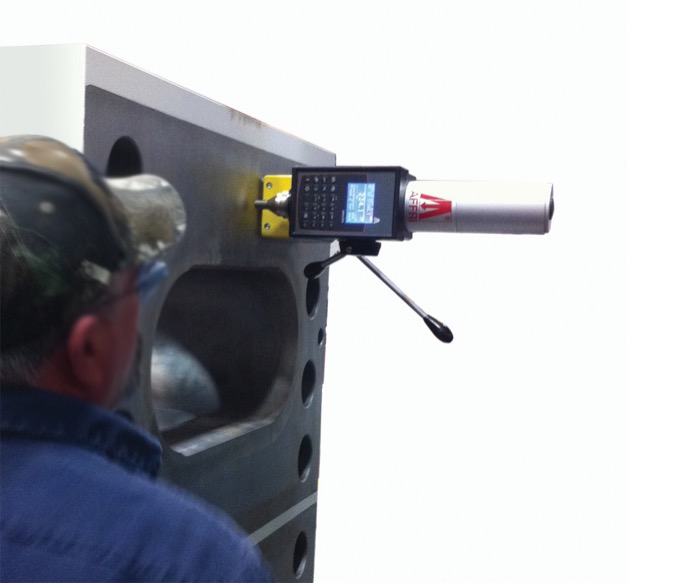
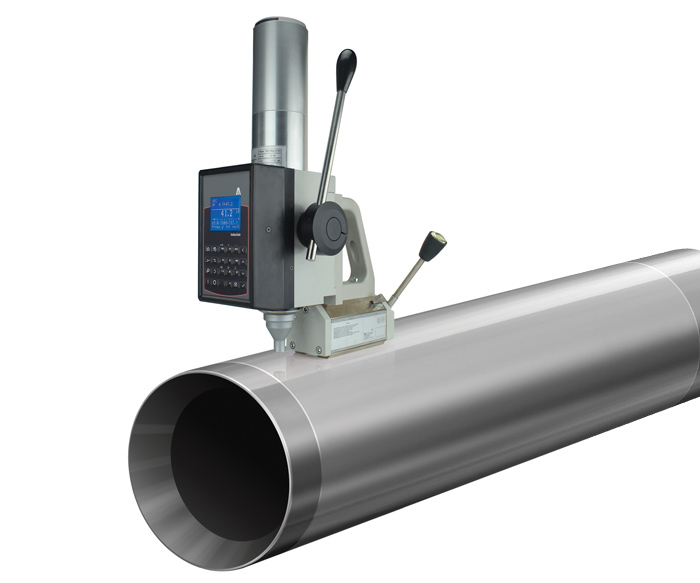
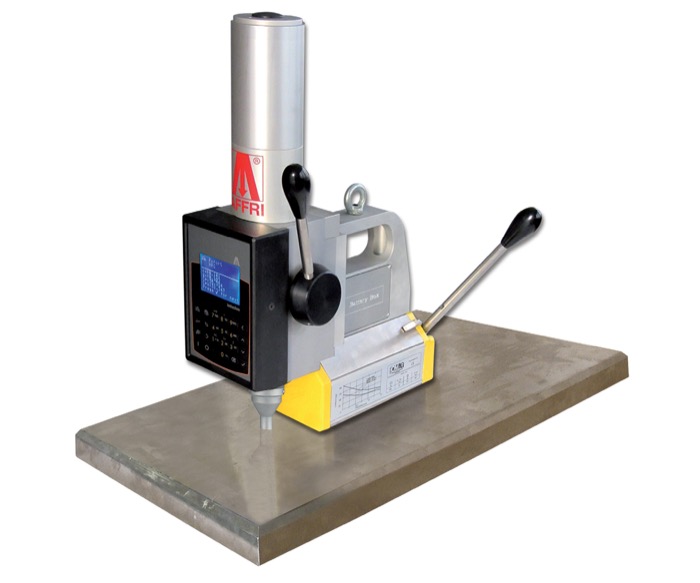
RSD MAG. Portable hardness tester with magnetic clamping base for Rockwell, Superficial Rockwell, Brinell and Vickers methods. The first portable hardness tester that conforms to ASTM E-18 E-10 E-110 E-103 E384 and ISO 6508 6507 6506 international hardness standards. RSD MAG is a digital portable hardness tester with a manual drive for an automatic test cycle with hardness direct reading. Thanks to its magnetic clamping base it is possible to perform hardness tests on very bulky samples directly in the production department. It is completely uninfluenced by direction so that it is operative up to 360° degrees of positioning, even upside down.
Load forces are applied through a dynamometric load cell which eliminates problems associated with dead weight systems on traditional testers. It is not affected by any external source of vibration, and it does not need to be leveled. Safe clamping on any surface, from round to flat, with self-allignment of the indenter with the measurement axis. LCD screen, user friendly interface, real time statistics and graphs and large archive storage. This hardness tester ensures the highest accuracy and repeatability at every measurement. Hardness tests in laboratory or in loco on tubes, profiles, valves and bulky or small pieces. For all metals: iron, steel, tempered steel, cast iron, brass, aluminum, copper and metal alloys. Heat treatment, hardening, nitriding, cementation and hardfacing.
Test loads: from 3 to 187,5 kgf (from 29,42 to 1839 N)
Rockwell ISO 6508 / ASTM E-18 / E-110: HRA – HRB – HRC – HRD – HRF – HRG – HRL – HRM – HRR / HRN – HRT
Brinell HBWT ISO 6506 / ASTM E-10 / E-110 / E-103: HB 30 – HB 10 – HB 5 MPa (F/D2)
Vickers ISO 6507 / ASTM E-384 (Only indentation): HV3 – HV10 – HV15 – HV30 – HV60 – HV100
USER FRIENDLY:
Pulling one single start lever the hardness result will appear in a few seconds. It is so simple and easy to use that there is no need for any particular preparation by the operator:
- Identify the test area and place the hardness tester on the sample, no matter the size or geometry
- Locking the base lever the magnet will strongly adhere to the test piece for the entire test cycle
- Start the test and in 4 seconds the result will appear on the display scale or dial gauge
Safe clamping on any surface, from round to flat, with self-allignment of the indenter with the measurement axis. This hardness tester ensures the highest accuracy and repeatability at every measurement.
THE AFFRI SYSTEM
Load forces are generated by a dynamometric load cell wich assures long term accuracy and eliminates problems associated with dead weight systems on traditional testers. Results are not affected by any structural deflection, misalignment or vibration.
REPEATABILITY AND REPRODUCIBILITY
Accurate measurements on the first test, even in extreme conditions, will eliminate the need for repeated tests. The R&R data is at the top of its class.
SOFTWARE RSD
The software controls the whole instrument during the entire cycle avoiding operator errors:
- Set of the hardness test method
- Measurement settings
- Storable and printable statistics
- Results, averages and conversions
FROM PORTABLE TO BENCH-TOP
CLAMPING SYSTEM
Accurate hardness measurements even on unstable, dirty or oily samples. The clamping hood applies constant pressure and prevent from accidentaly samples movements during the test cycle.
50 MM OF INDENTER AND CLAMPING HOOD STROKE
The measuring head follows the sample even in case of structural deflection. Easy and fast hardness measurements on different thicknesses without acting on the elevating screw.
HARDNESS TESTER MODELS:
 RSDMAG/30-D2 RSDMAG/30-D4 |
 RSDMAG/50-D2 RSDMAG/50-D4 |
 RSDMAG/55-D2 RSDMAG/55-D4 |
 RSDMAG/70-D2 RSDMAG/70-D4 |
 RSDMAG/80-D2 RSDMAG/80-D4 |
COMPONENTS:
 SMX30 300mm magnetic base for HR/HB measures up to 20mm sample’s thickness |
 SMX50 500mm magnetic base for HR/HB measures less than 20mm sample’s thickness |
 SMX55 Magnetic base with 10mm horizontal stroke sliding head for multi indentation |
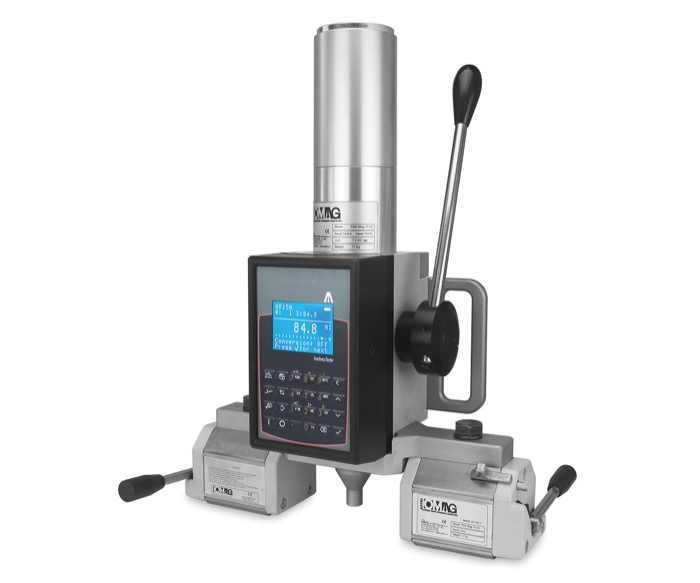
 SMX70 Double magnetic clamping base for big or small diameters round shape samples |
 SMX80 Chain clamping base for non ferrous samples |
 670H High stand support: Height capacity 390 mm Depth capacity 232 mm |
 460H Regular stand support: Height capacity 180 mm Depth capacity 204 mm |
 Tester head: RSDMAG-D2 588,4-1839 N (60-187,5 kgf) RSDMAG-D4 147,1-441,3 N (15-45 kgf) |
N.B. The RSDMAG head can be assembled, as it is, on any of our manual hardness terster’s stand supports (206/330/331). |
|
TECNICAL FEATURES
|
RSDMAG D2
|
RSDMAG D4
|
|
|
Standards
|
EN-ISO 6506 / EN-ISO 6508 / ASTM E-18 / ASTM E-10 / ASTM E-103
|
|
|
Indenter and clamping hood stroke
|
0/50 mm
|
|
|
Preload
|
RSD: 98.1 N (10 kgf)
|
RSD: 29.42 N (3 kgf)
|
|
Test loads
|
Rockwell: 588.4 – 980.7 – 1471 N (60 – 100 – 150 kgf)
Vickers: 98.07 – 980.7 N (10 – 100 kgf) Brinell: 98.07 – 612.9 – 1226 – 1839 N – On request 2452 N |
Superficial Rockwell: 147.1 – 294.2 – 441.3 N (15 – 30 – 45 kgf)
Vickers: 29.42 – 294.2 N (3 – 30 kgf) Brinell: 153.2 – 294.2 – 306.5 N (15.625 – 30 – 31.2 kgf) |
|
Feasible tests
|
Rockwell: HRC – HRA – HRD – HRB – HRF – HRG – HRL – HRM – HRR
Superficial Rockwell: HRN + HRT
Brinell (On request): HB30 – HB10 – HB5 – HB2.5 MPa (F/D2)
Vickers (On request) (Only indentation): HV3 – HV10 – HV30 – HV100
|
|
|
Load accuracy
|
Better than 0.5 %
|
|
Normal lagervare, forbehold for mellemsalg

