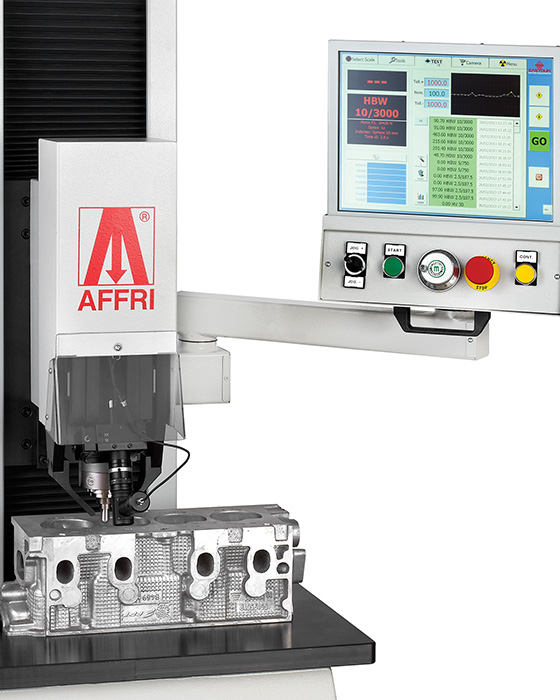
Integral 1: Brinell
Venligst kontakt os for pris.
Integral 1: Brinell
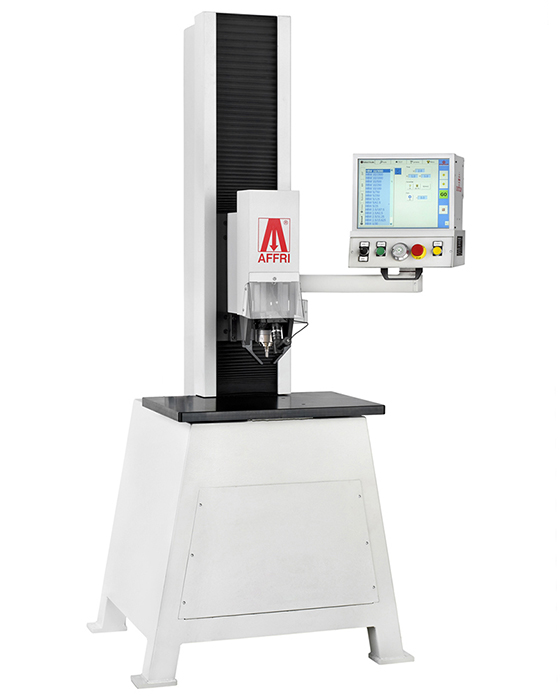
Automatic digital hardness tester for Brinell test method in compliance with ASTM E10 and ISO 6506 hardness standards. Integral 1 is a top level bench hardness tester for fully automatic Brinell test cycles. It is entirely motorized with an automatic turret with indenter and magnification lenses for Brinell indent autoreading after indentation. Load forces are applied through load cells and electronically controlled in Closed Loop (Pat. Affri). Exact hardness result on the first test and R&R data at the top of his class, absolute accuracy (better than 0.5 %) in every condition. Integral 1 has a large fixed base and a motorized head with long vertical stroke. Hardness testing on every metals: iron, steel, tempered steel, cast iron, brass, aluminium, copper and metal alloys.
Test loads: from 15,6 to 3000 kgf (From 153,2 to 29421 N)
Brinell ISO 6506 / ASTM E-10: HBW1/30 – HBW2.5/15.625 – HBW2.5/31.25 – HBW2.5/62.5 – HBW2.5/187.5 – HBW5/25 – HRW5/62,5 – HBW5/125 – HBW5/250 – HBW5/750 – HBW10/100 – HBW10/250 – HBW10/500 – HBW10/1000 – HBW10/1500 – HBW10/3000
ONE INPUT FOR THE ENTIRE TEST CYCLE
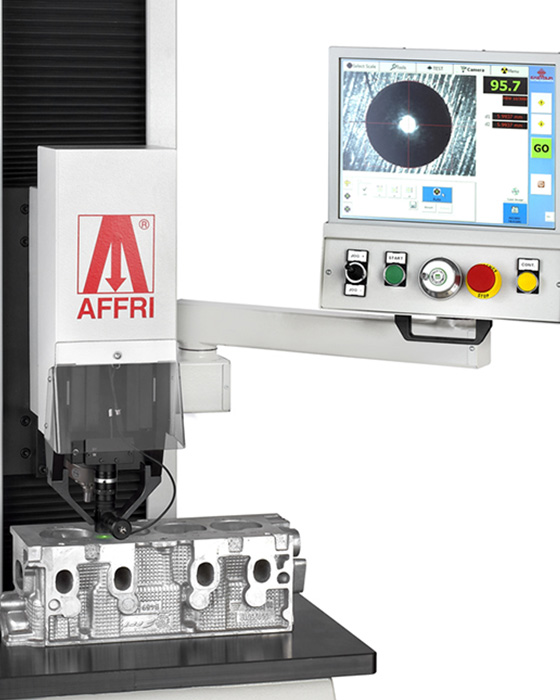
The hardness tester’s head moves down until contact is made, clamps the piece, applies the force and makes the indentation. The software will move to the camera view mode where the indentation is automatically measured.
CLOSED LOOP (PAT. AFFRI)
Closed loop load cells control load forces with a frequency of 1 khz, assuring perfect linearity in every range. Results are not affected by any structural deflection, misalignment or vibration.
REPEATABILITY AND REPRODUCIBILITY (R%R)
Accurate measurements on the first test, even in extreme conditions, eliminates the need for repeated tests. The R&R data is at the top of its class.
CLAMPING SYSTEM (PAT. AFFRI)
Secure contact with the specimen is always maintained, even in the unlikely event of any specimen movement during the operation cycle. The clamping system assures complete stability of any test piece throughout the test cycle, even if it’s oiled, rusty or dirty.
MOTORIZED HEAD
Automatic movements with automatic stop when contact is made. Total of 500 mm of motorized vertical stroke. The approach of the head moving to the piece as opposed to the piece moving to the head allows for more accurate, stable and safe measurements.
MOTORIZED X/Y TABLE
For automatic multi-indentation measurement. The user can program and set the number of indentations to be performed and the related movement of the X/Y table before each indent
MOTORIZED TURRET
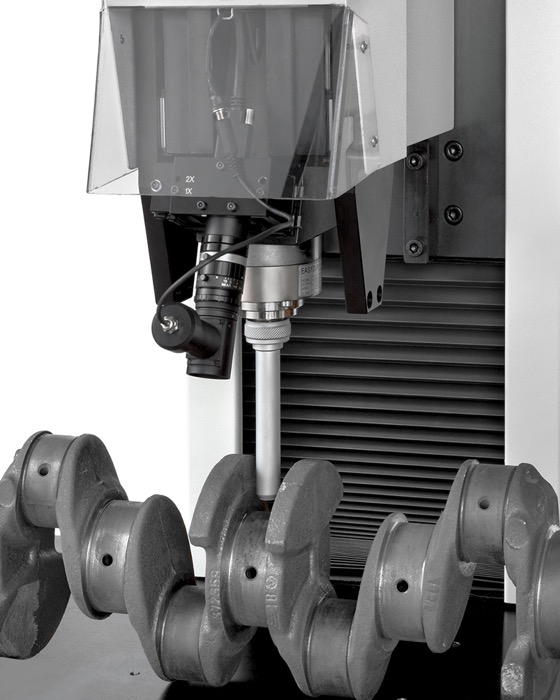
Multiples slots for different ball indenters, magnification lenses and even a milling surface preparation tool. Auto-rotating and tool switching for a completely automatic single or multi indentation measurement cycle.
AUTO-FOCUS
The Auto Focus performs an automatic focus adjustment for the selected optic with precise positioning at any magnification. This system reduces reading time while also assuring high reading accuracy.
LARGE BASE
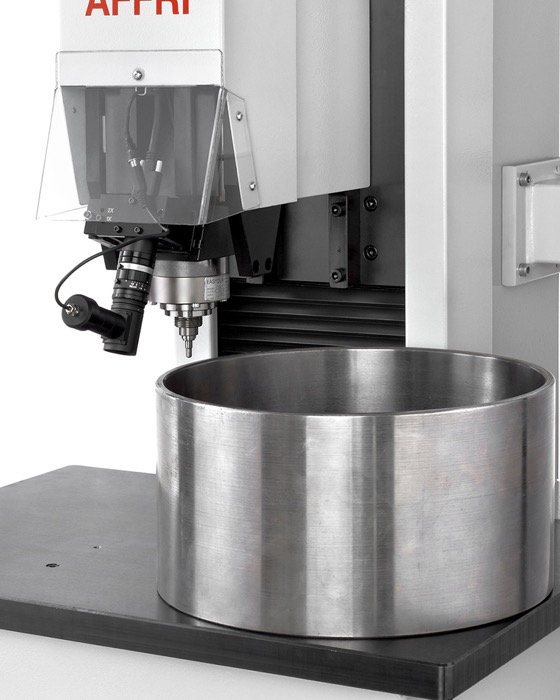
The wide work table base is capable of bearing masses beyond 3000 kg and special fixtures or anviling. Hardness measurements on bulky and irregular test pieces which cannot be easily reached by the regular bench hardness testers.
REMOTE SUPPORT
Integral 1 can be remotely connected to AFFRI Engineers from anywhere in the world. Our experts can diagnose any technical issues, provide additional operator training and update the software.
SOFTWARE INTEGRAL
The software controls the whole instrument avoiding setting errors or operators mistakes:
- Setup the hardness test scales, the load time, the properties of the camera, the test method standards and the conversion scales.
- Manage the instrument tools and check if the installed tool is correct for the selected hardness test method.
- Lists all of the readings done and their associated image. Chart the results and statistics highlighted according to their tolerance values (LOW, OK, HIGH).
TECHNICAL FEATURES
|
INTEGRAL 1
|
|
|
Standards
|
EN-ISO 6506 / ASTM E-10
|
|
X/Y base
|
400 X 400 mm (Motorized on request)
|
|
Vertical head stroke
|
0/500 mm Motorized
|
|
Depth capacity
|
170 mm (More on request)
|
|
Test Loads
|
Brinell: 153.2 – 306.5 – 612.9 – 1226 – 1839 – 2451 – 4903 – 7355 – 9870 – 29421 N (15.6 – 31.2 – 62.5 – 125 – 187.5 – 250 – 500 – 750 – 1000 – 3000 kgf) |
|
Feasible tests
|
HBW1/30 – HBW2.5/15.625 – HBW2.5/31.25 – HBW2.5/62.5 – HBW2.5/187.5 HBW5/25 – HRW5/62,5 – HBW5/125 – HBW5/250 – HBW5/750 HBW10/100 – HBW10/250 – HBW10/500 – HBW10/1000 – HBW10/1500 – HBW10/3000 |
|
Load accuracy
|
More than 0.05 %
|
Normal lagervare, forbehold for mellemsalg


