DH-10 TOUCH
Venligst kontakt os for pris.
DH-10 TOUCH
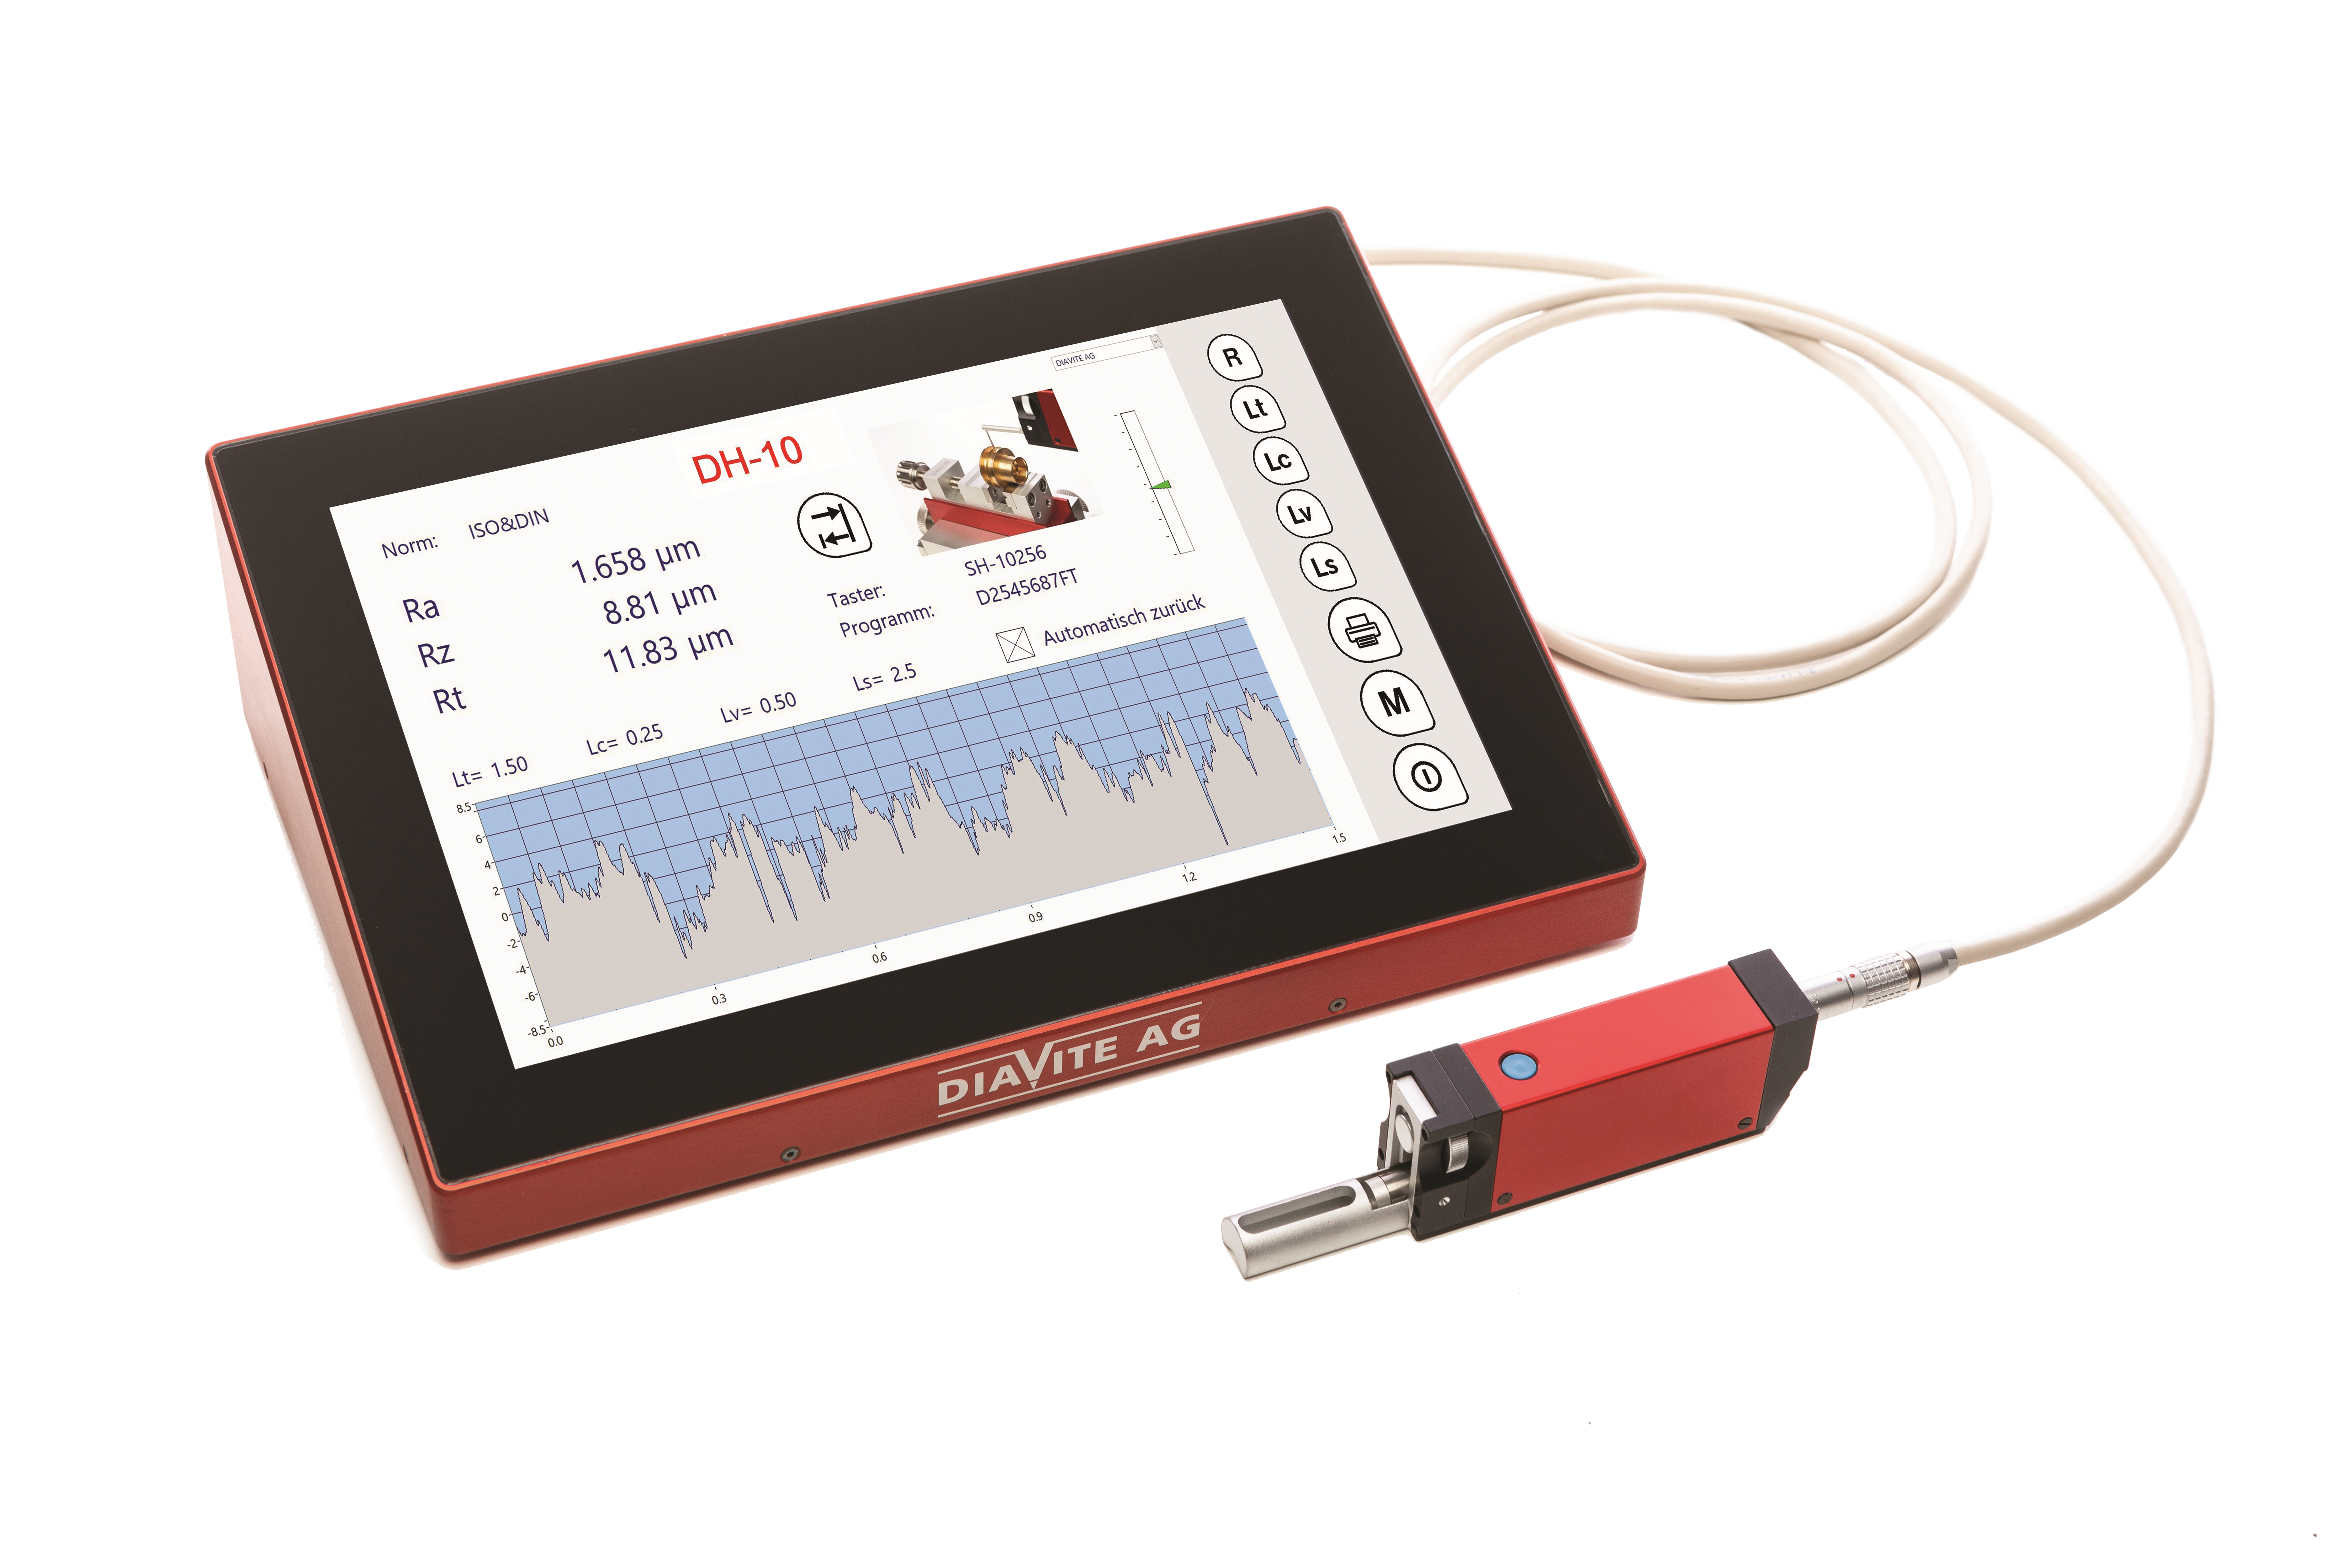
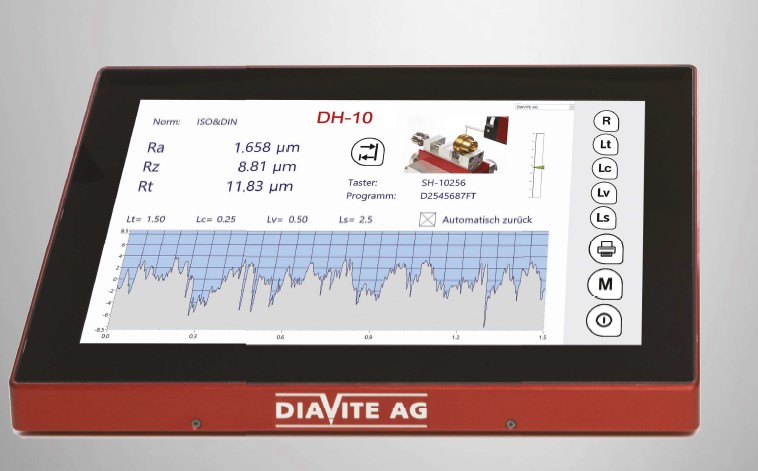
DH-10 TOUCH One instrument for tracers without and with skid. With the DIAVITE DH-10 TOUCH you can work with tracers without and with skid. The entire DIAVITE tracer range is available to you with just one device! On the 10.1″ Full HD Touch Display you will find all controls for a quick and easy measurement. You define the measu-rement (measuring length, filter, speed, etc.) and save it with an image and corresponding protocol. Via the menu or a barcode scanner you select the program and execute it. The protocol is then printed via LAN (WLAN/ Bluetooth) or stored on the server, USB stick on the previously defined path. You have the choice whether to save in PDF, CSV or TXT format. A statistical evaluation of several measurements can also be record ed.
ROUGHNESS MEASUREMENT
- High-precision roughness measuring instrument for universal use in workshops and measuring rooms , Automatic calibration
- 5 measuring sections all adjustable 0.5 to 15.0 mm , Adjustable measuring speeds
- Calibration of up to 8 tracers
- Saving measurement conditions with image
- Many tracers for almost all measuring tasks, including customer-specific solutions
- Simple menu navigation, multilingual
- Tolerance display
- Accessories for many applications, indispensable
- when working with tracers without skid
VERSION TRACER WITHOUT SKID
- DIAVITE DH-10 TOUCH
- Motor unit VHF
- Tracer without skid NFH
- Calibration specimen metal Ra = 3.00 µm , Charger
- Connecting cable
- Delivery report
- Carrying case
- Measuring support with aluminium base
VERSION TRACER WITH SKID
- DIAVITE DH-10 TOUCH
- Motor unit VHF
- Standard tracer SH
- Calibration specimen metal Ra = 3.00 µm , Charger
- Connecting cable
- Oelivery report
- Carrying case
| Technical data | |
| Parameters Roughness | ISO/DIN: Ra, Rz (DIN), Rmax, R3z, Rt, Rq (RMS), Rk, Rp, Rv, Rpk, Rvk, MR1, MR2, RPc, C1, C2, contact ratio Rmr, CO, Cz, V0, Rdg, RL0 > JIS: Ra (JIS), Rz (JIS) > ISO 12085: R, AR, Rx |
| Parameters Profile | SO/DIN: Pa, Pz, Pt, Pq, Pmr, PPc, Pmax |
| Measuring range | Ra, Rq: 0 – 20.00 µm I 0 – 800 µin , All ether measurement values: 0 – 350.0 µm I 0 – 1400 µin |
| Display | Ra, Rq: 0.001 µm > All ether measurement values: 0.01 µm |
| Connections | 2x USB-3.0 / 1 x mini HDMI / 1 x LAN/RJ45 |
| Humidity | max. 80 %, non-condensing |
| Languages | German, English, French, Italian, Spanish, Polish |
| Tracing system | Analog hall effect technology with high linearity output signal |
| Cutoff | 0.08 mm I 0.25 mm I 0.8 mm I 2.5 mm I “OFF” for profile parameters |
| Tracing tip | Diamond tip: 5 µm, 90° (standard) or 2 µm, 60° (option) |
| Measuring range in Z | approx. 450 µm |
| Static measuring force | Tip< 0.5 mN |
| Static tracking force | Skid< 0.15 N |
| Tracing speed | 0.25, 0.5 and 1.0 mm/s |
| Reverse speed | approx. 1.0 mm/s |
| Motor unit | VHF (for all tracers without and with skid), measuring length 0.48 to 16 mm |
| Device dimensions (LxWxH) | approx. 265 x 175 x 75 mm |
| Motor unit dimensions | approx. 20 x 33 x 136 mm (with supporting shoe) |
Normal lagervare, forbehold for mellemsalg


