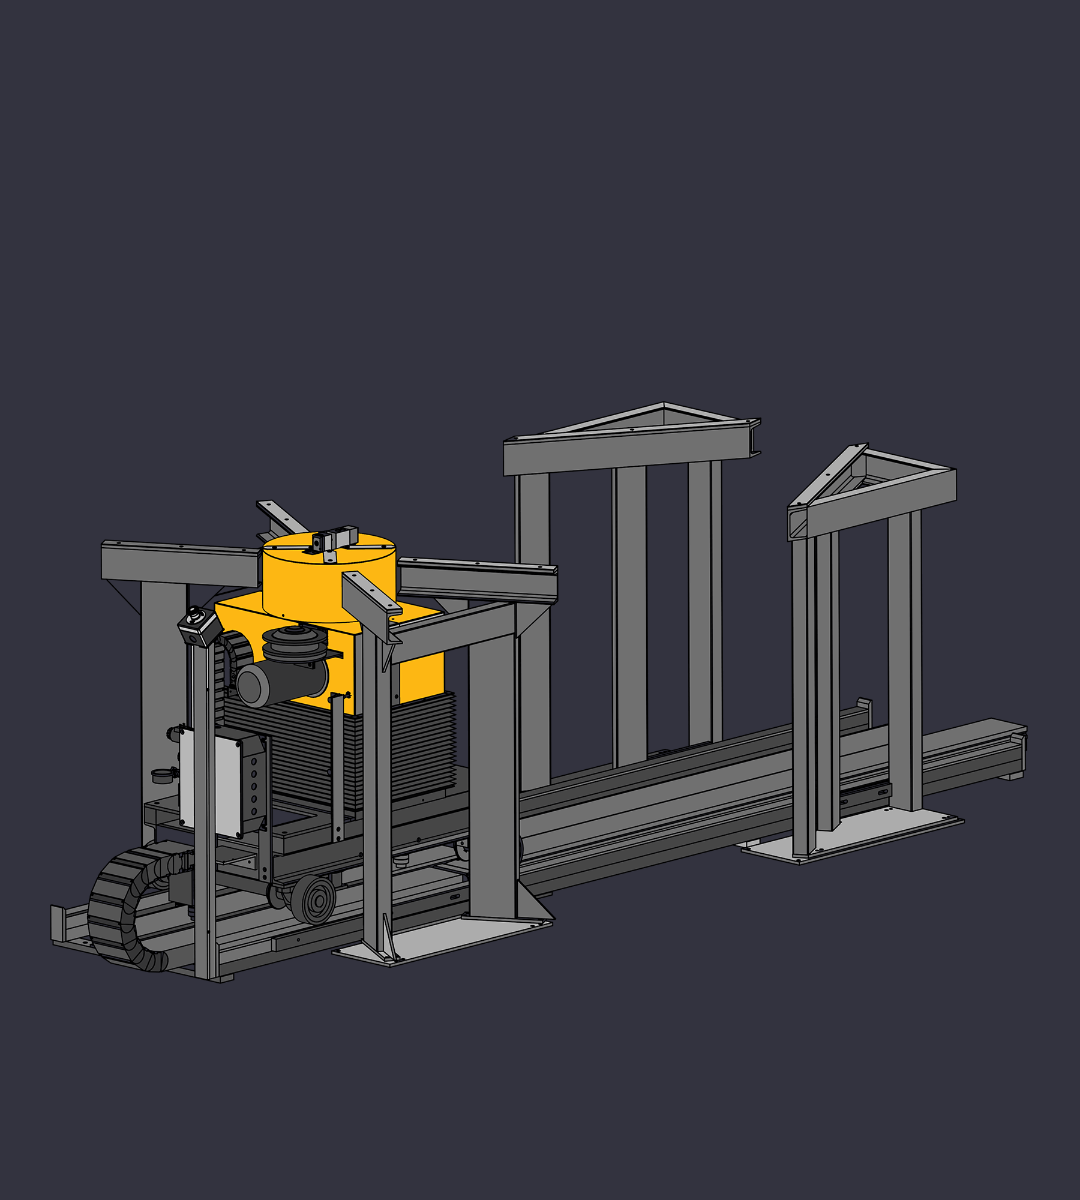
Automatiske in-line systems
Venligst kontakt os for pris.
Automatiske in-line systems
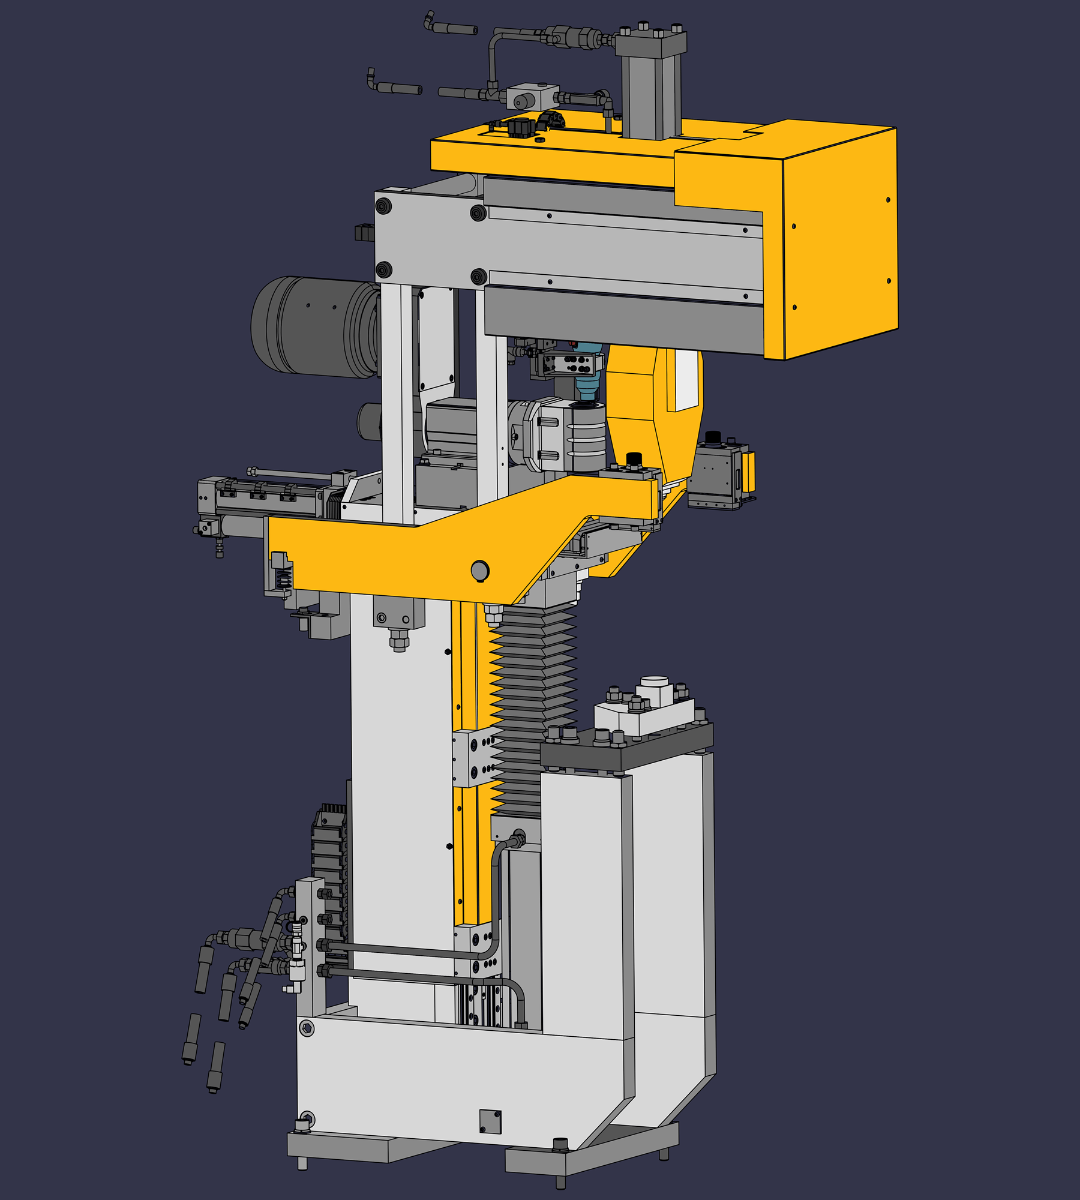
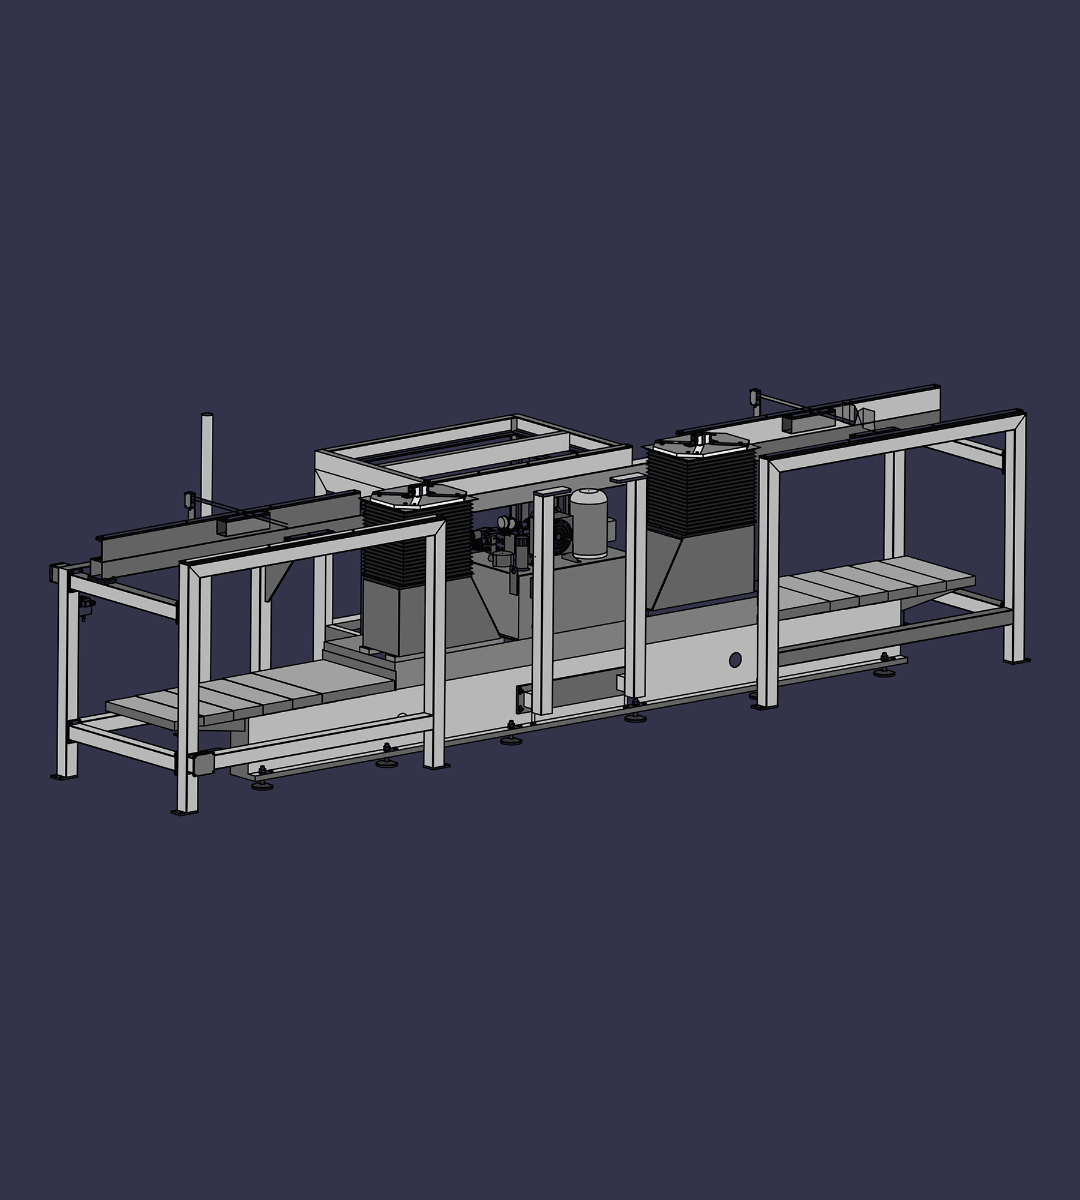
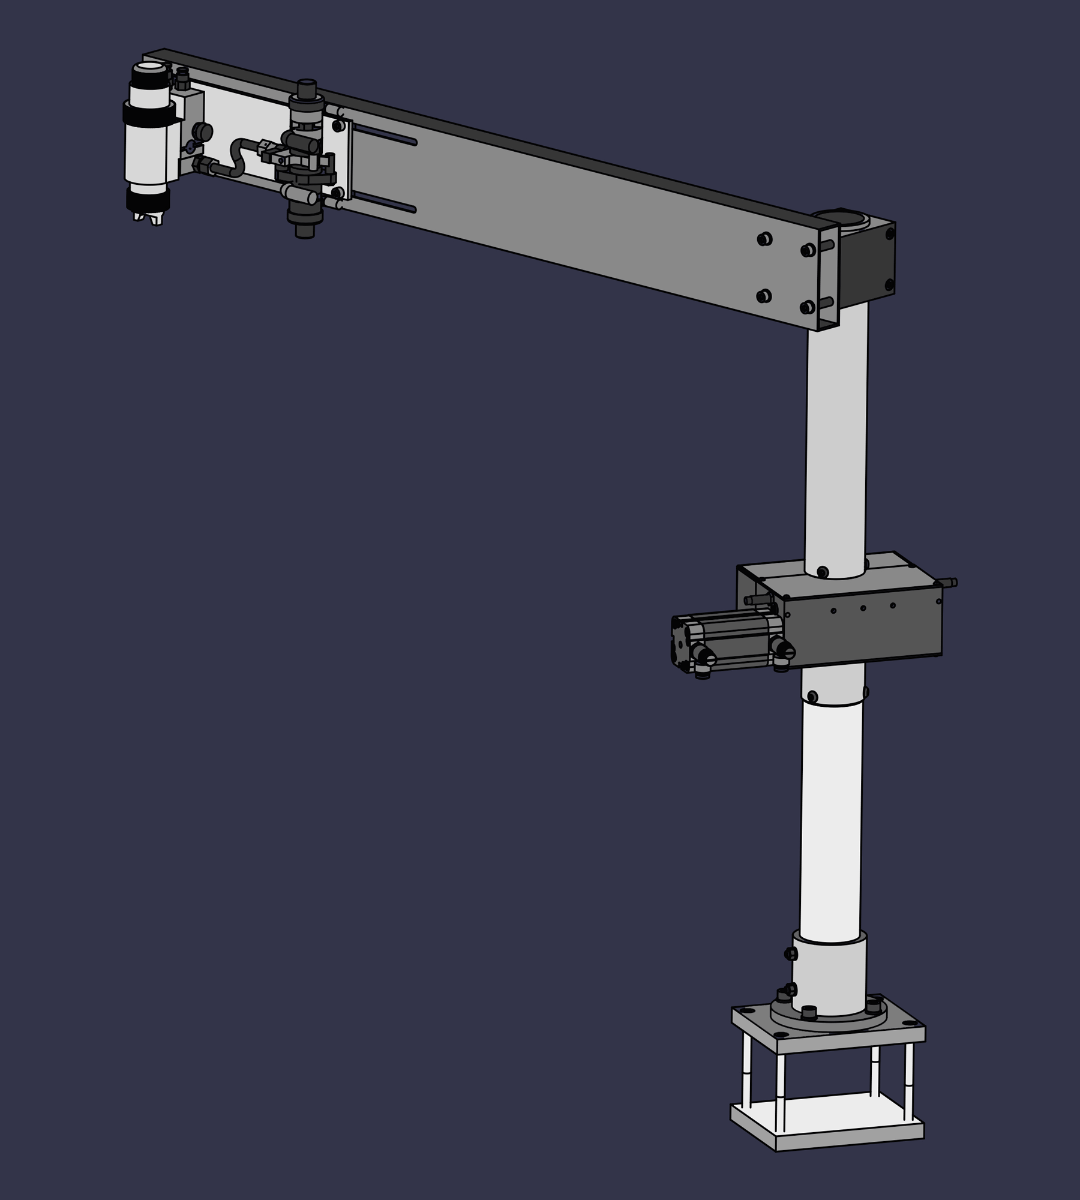
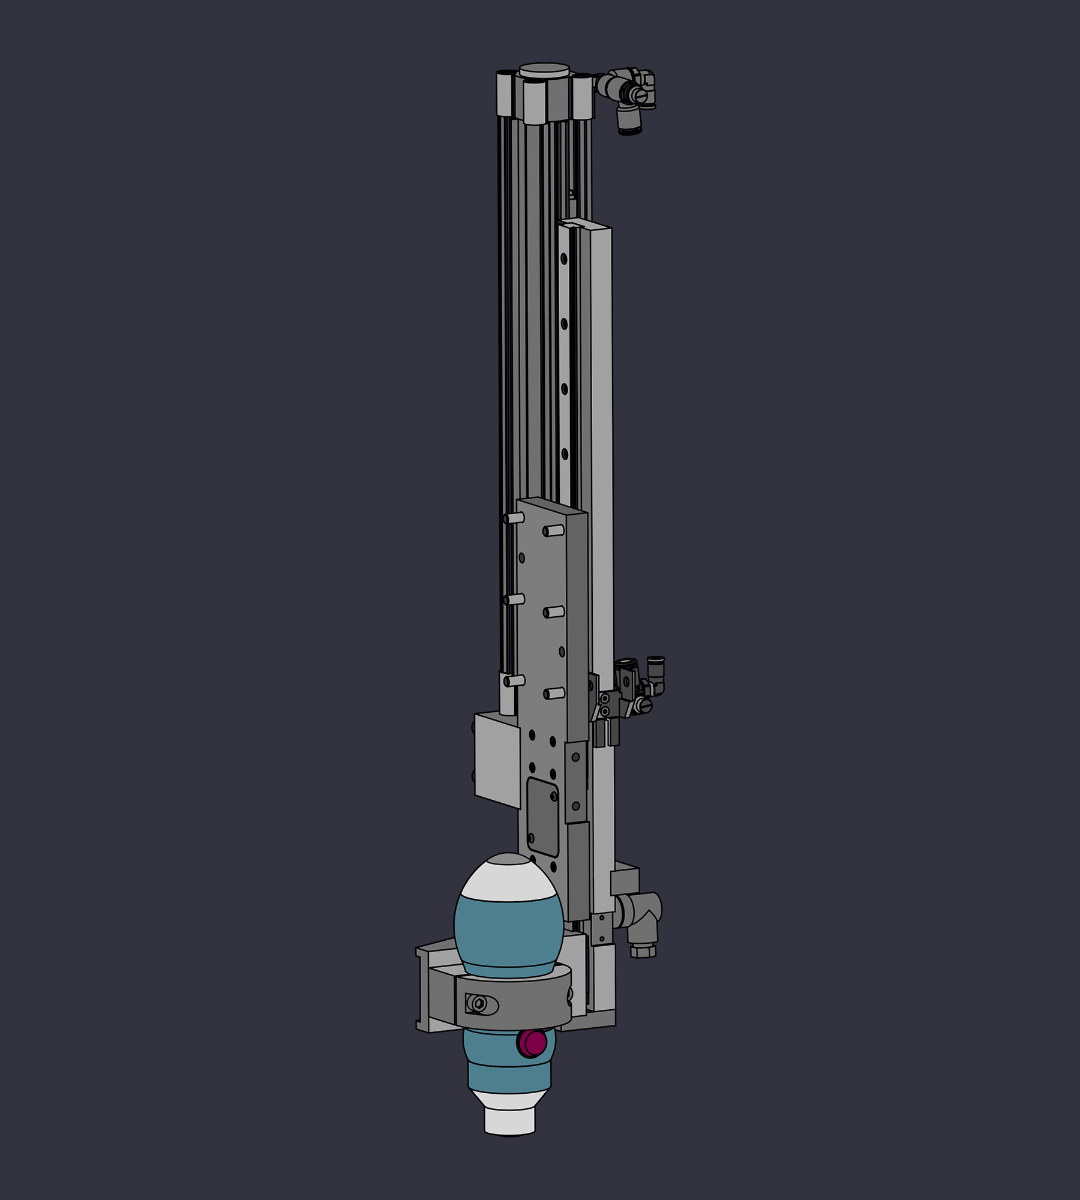
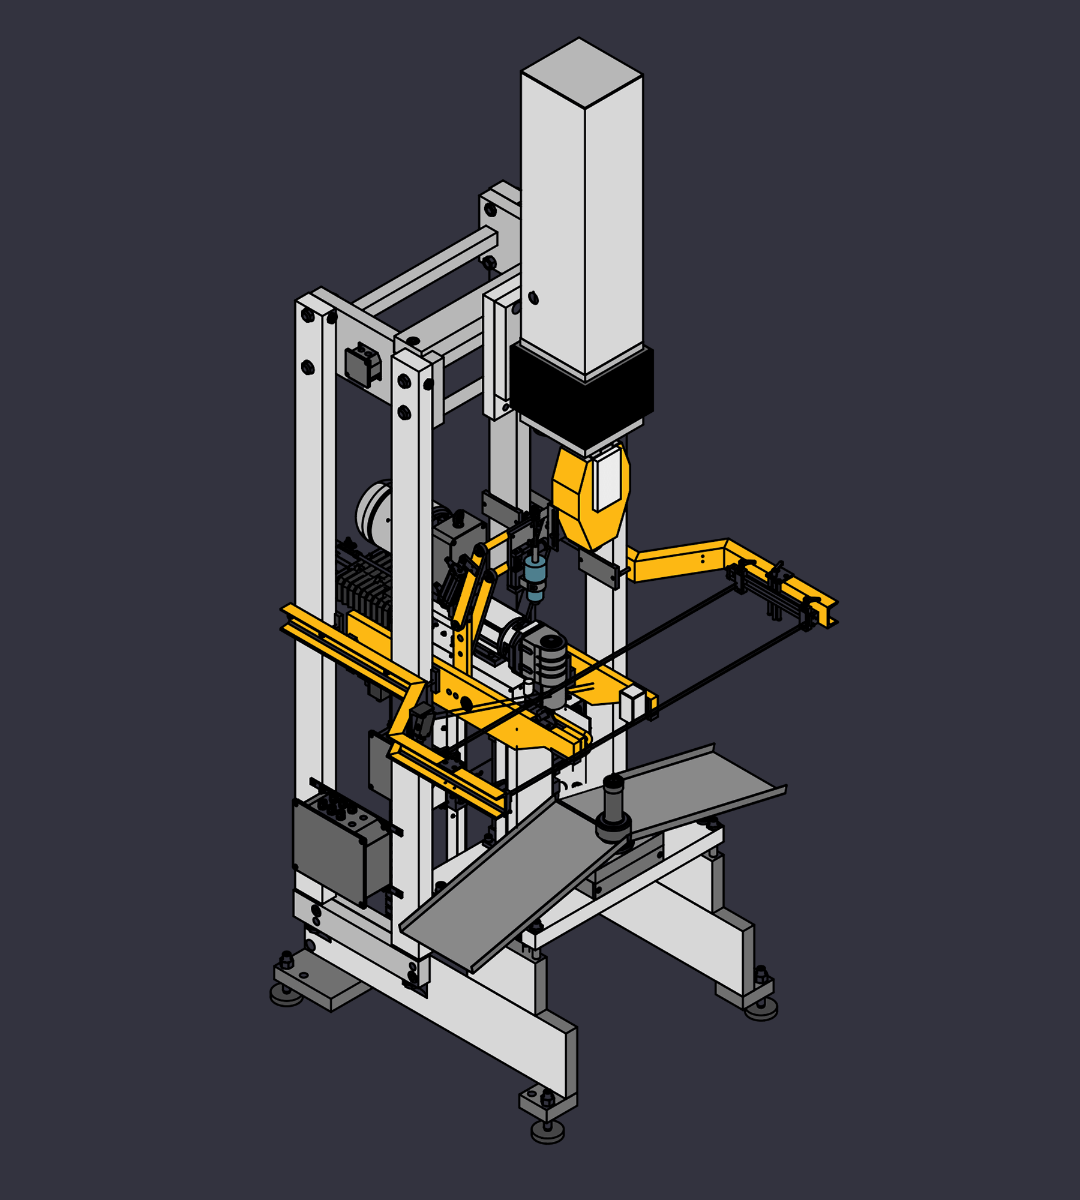
Bre-Aut SOR for the testing of finished train wheels in-line systems
Customer Requests: The fully automatic Brinell hardness testing of finished train wheels with the following specifications:
- Surface preparation and measurement of finished trainwheels – need to measure wheels of different diameters (from 700mm to 1300mm)
- Speed up the entire testing process
- Need to install into an existing production line consisting of machinery from other vendors
- Need to comply with specific regulations that require no. 2 measurements at a distance of 25mm from the first test if it is outside the range of hardness required
- Need to mark non-conforming wheels
Achieved results
- Preparation of the finished surface limiting its alteration.
- The surface preparation and measurement unit automatically adapts to the wheel size.
- Integration of the automation of hardness measurement with the existing in-line system.
- 60 seconds for a hardness test including surface preparation.
- Automatic wheel shift for additional measuring positions.
- Automatic evaluation of the tests to be performed according to the inserted tolerance parameters and automatic evaluation of the conformity or non-conformity of the measurement according to the standards.
Solution adopted
– Line equipped with lamellar wheel unit for surface preparation of finished wheels
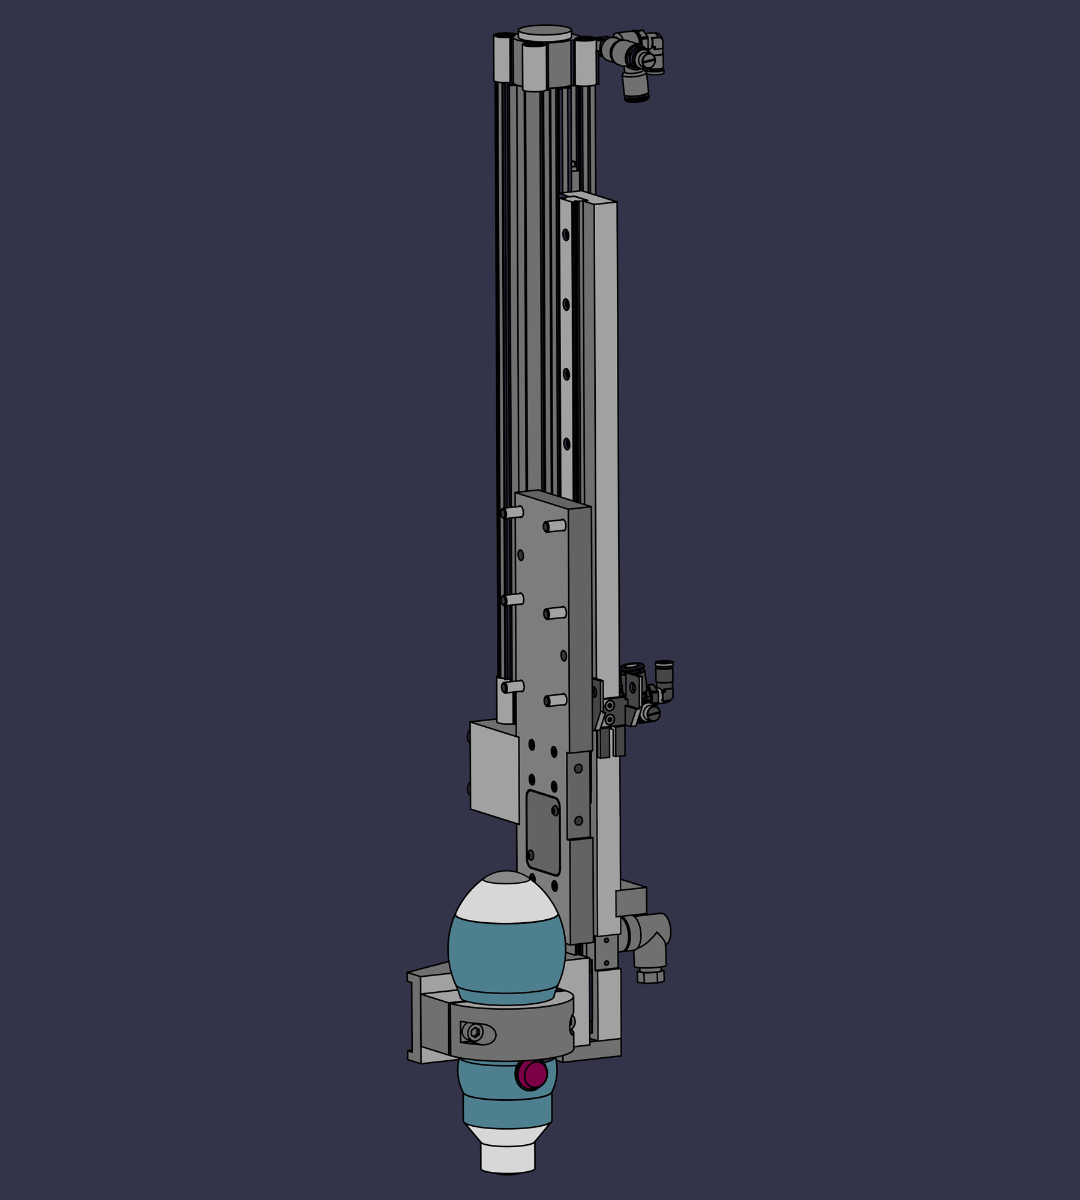
– Mounting of the entire hardness tester on a PLC-controlled motor-driven slide
– Creation of a transfer system that allows two wheels to be transported simultaneously from the loading point and the measuring point under the hardness tester to the unloading point
– Implementation of specific communication protocols for the exchange of signals and information with the PLC line controller
– Optimisation of the transfer system controls to allow the wheel to be moved for additional measurement positions. If the first test falls within the specified range, the wheel is transferred to the unloading position and at the same time a new wheel is brought from the loading position to the surface preparation and measurement position to be measured. If the first test is outside the set range, it will be automatically moved by 25mm and a second and third test will be carried out. If both these tests give a positive result, the wheel will result compliant
– If any of the above conditions do not occur, the wheel will be considered non-compliant and consequently marked with the spray paint unit located at the discharge position.
Technical details in-line systems
| Power supply | 380 V 50 Hz |
| Loads | 3000 kgf (29430 N) |
| Norms and certifications | ISO 6506/1 6506/2 6506/3 – ASTM E 10 |
| Overall dimensions | 7000 mm x 8000 mm |
| Selectable functions | Load time, tolerances, stats, database of measurements and images with search on-board machine,languages |
| Output interfaces | Profibus, Ethernet |
| Reading | automatic optical impression reading |
| Languages | Italian, English, German, Other languages on request |
| Weight | 9 t |
| Working principle | Brinell |
| Standard scales | HB 10/3000 |
| Load time | adjustable 1-30 sec |
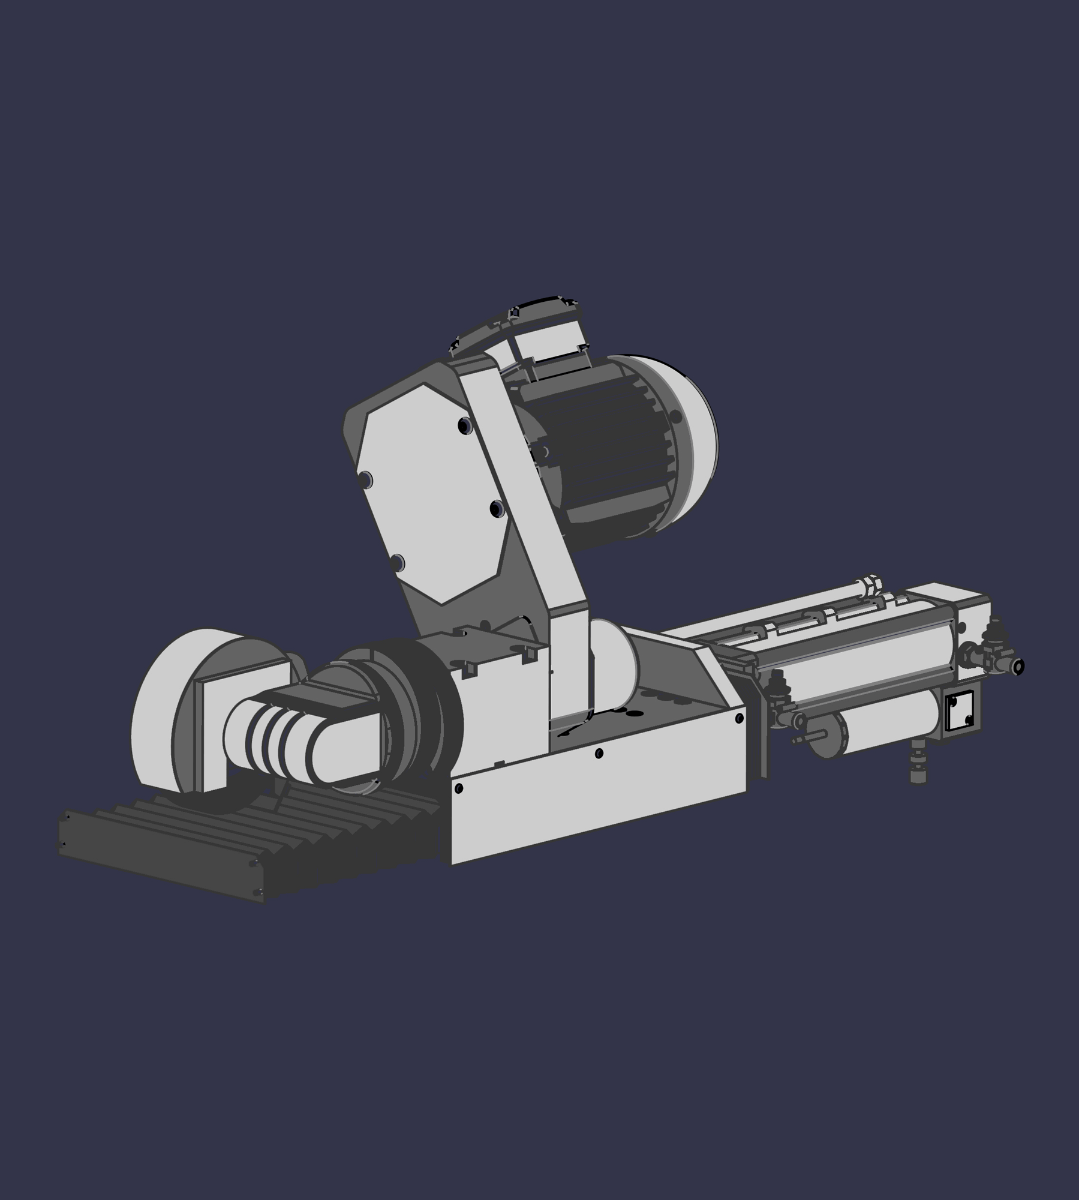
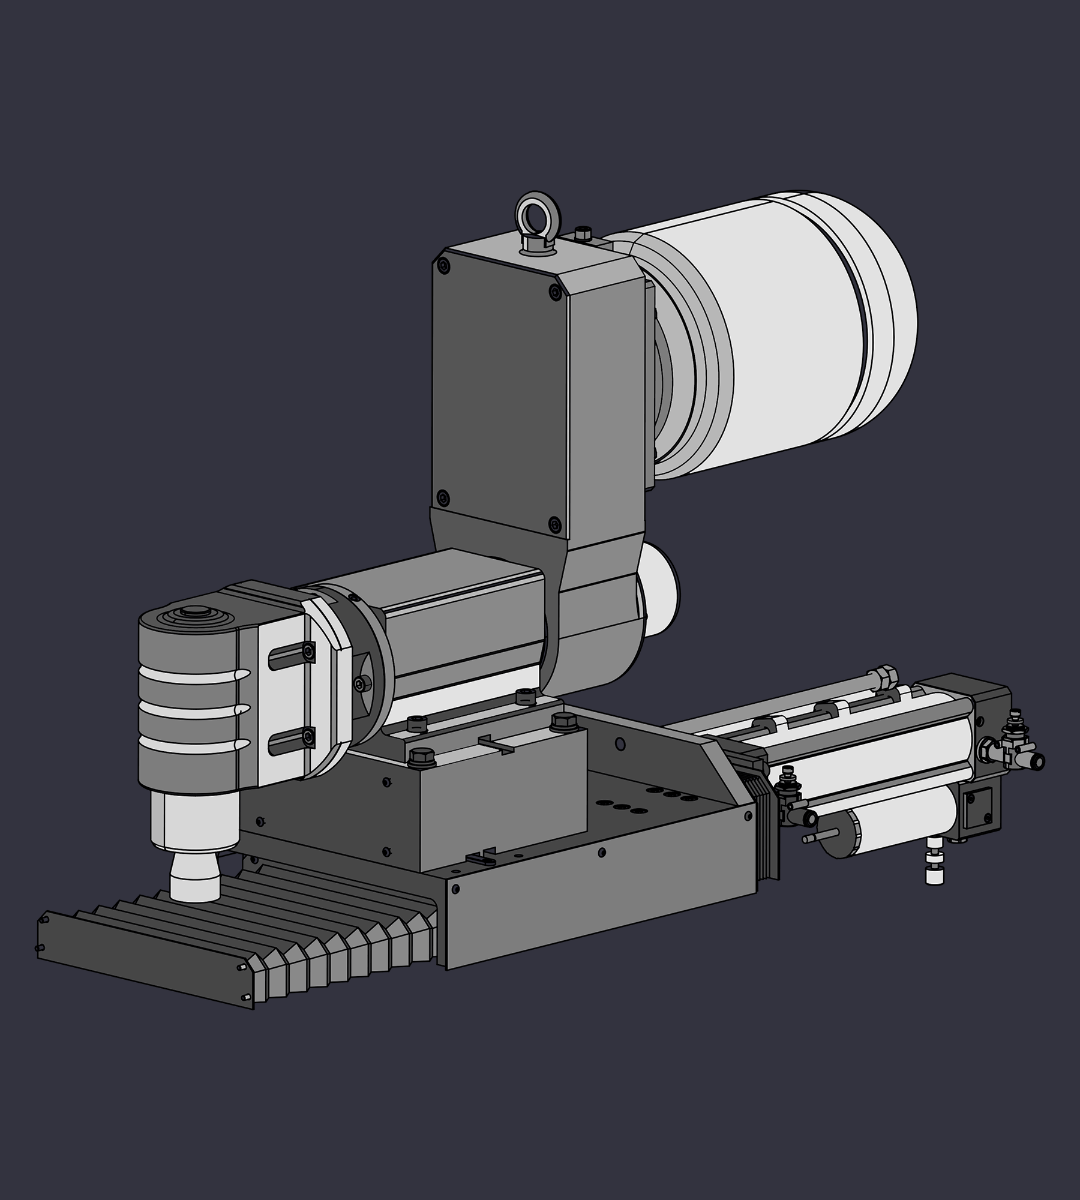
Bre-Aut MAR for the testing of raw train wheels in-line systems
Customer Requests: Automatic Brinell hardness testing of raw train wheels with the following specifications:
- surface preparation at different depths and measurement of raw train wheels
- need to measure wheels of different diameters (from 700mm to 1300mm)
- speed up the entire test process
- need to install into an existing production line consisting of machinery from other vendors
- need to comply with the specific regulations that impose no. 2 measurements at a distance of 25mm from the first test if it is outside the required range of hardness
Achieved results
- Surface preparation of the raw wheel by milling.
- The surface preparation and the measurement unit automatically adapts to the wheel size.
- Integration of the hardness control automation with the existing in-line system.
- 120 seconds for a hardness test including surface preparation.
- Automatic wheel rotation for additional measuring positions.
- Automatic evaluation of the test to be performed according to the inserted tolerance parameters and automatic evaluation of the conformity or non-conformity of the measure according to the standards.
Solution adopted
– System equipped with milling unit for surface preparation of raw wheels
– Creation of a transfer system that allows the rotation and transport of a wheel from the loading/unloading point ofto the measuring point
– Implementation of specific communication protocols for the exchange of signals and information with the PLC line controller
– – Optimisation of the transfer system controls to allow the wheel to be moved for additional measurement positions. If the first test falls within the specified range, the wheel is transferred to the unloading position and at the same time a new wheel is brought from the loading position to the surface preparation and measurement position to be measured. If the first test is outside the set range, it will be automatically rotated by 25mm and a second and third test will be carried out. If both these tests give a positive result, the wheel is compliant
– If any of the conditions of the above point does not occur the wheel will be considered non-compliant.
Technical details in-line systems
| Power supply | 380V 3ph – other power supplies on request |
| Loads | 3000 kgf |
| Norms and certifications | ISO EN 10003 ASTM E10 |
| Working area dimensions | 5m x 3m |
| Reading | automatic impression reading – e-brio |
| Languages | Italian, English, German, Other languages on request |
| Memory | industrial pc |
| Weight | ca. 5t |
| Working principle | Brinell |
| Standard scales | HB30 / 3000kg |
| Load time | slezionabile da 1 a 30 sec |
Normal lagervare, forbehold for mellemsalg

